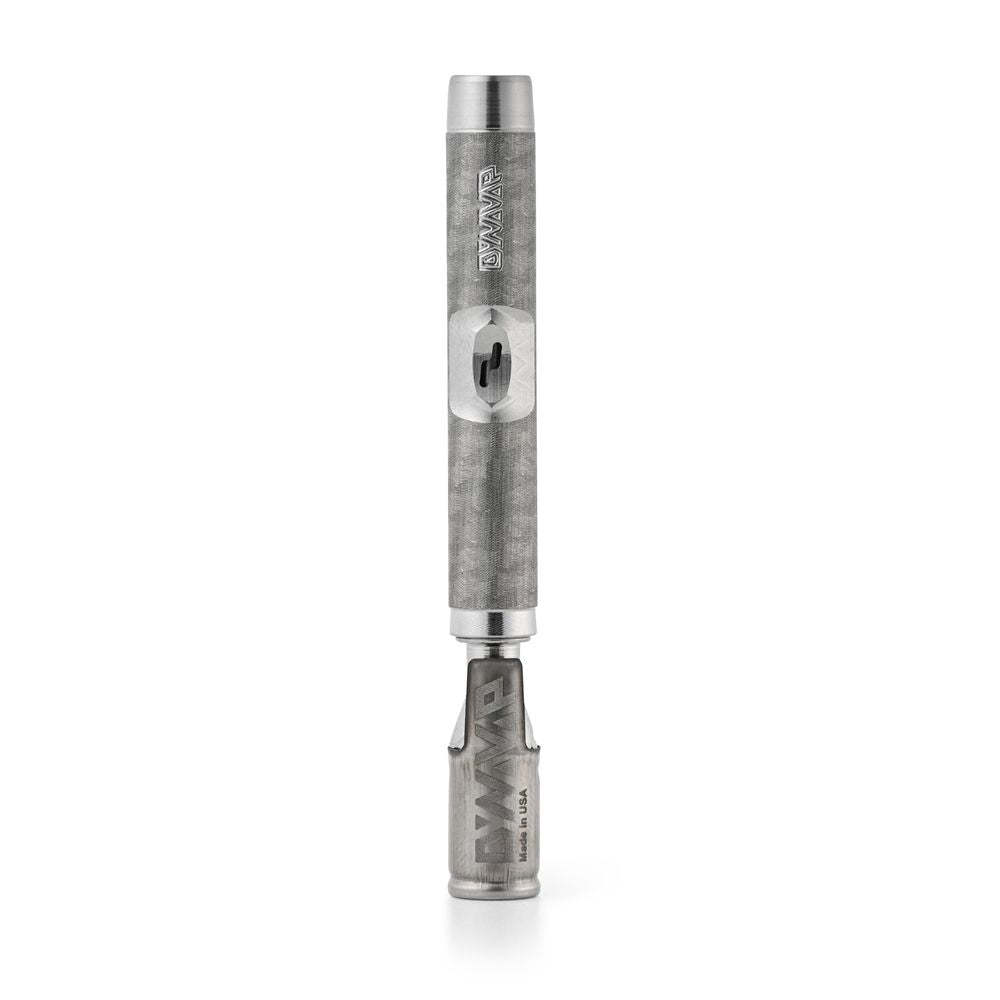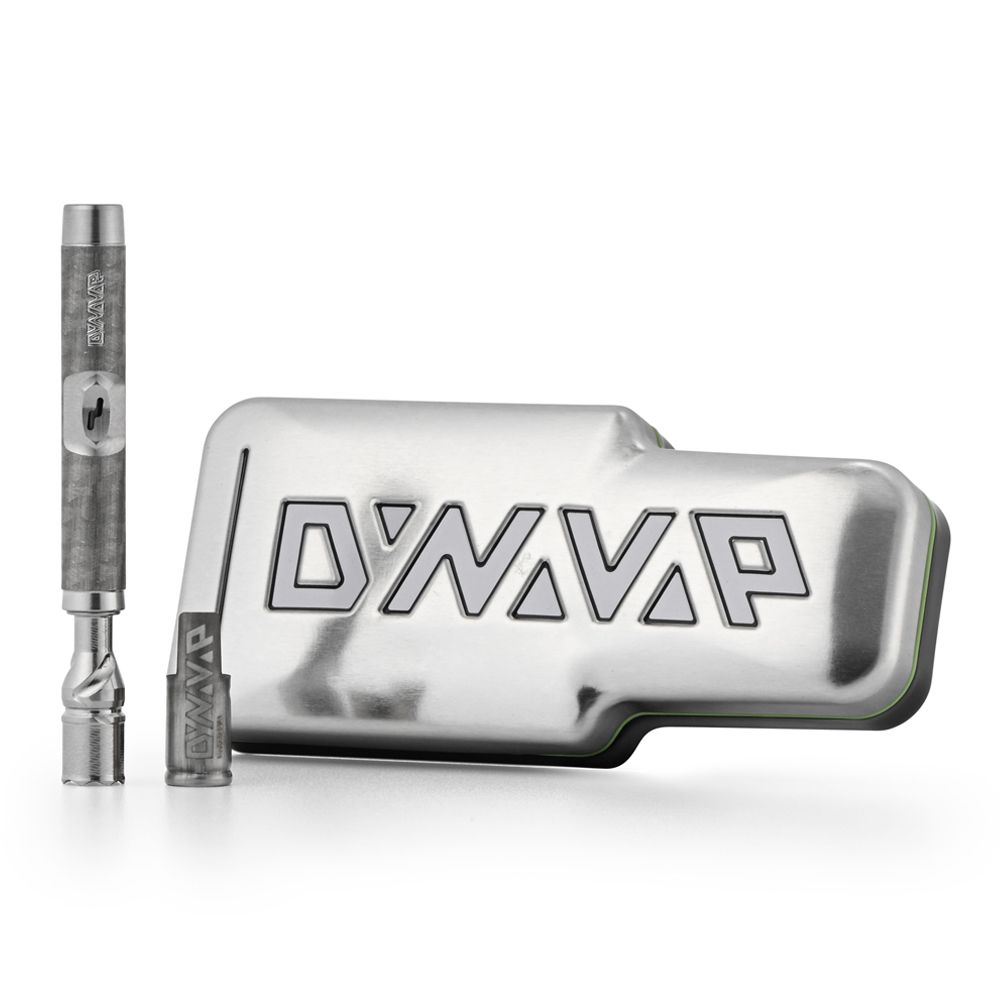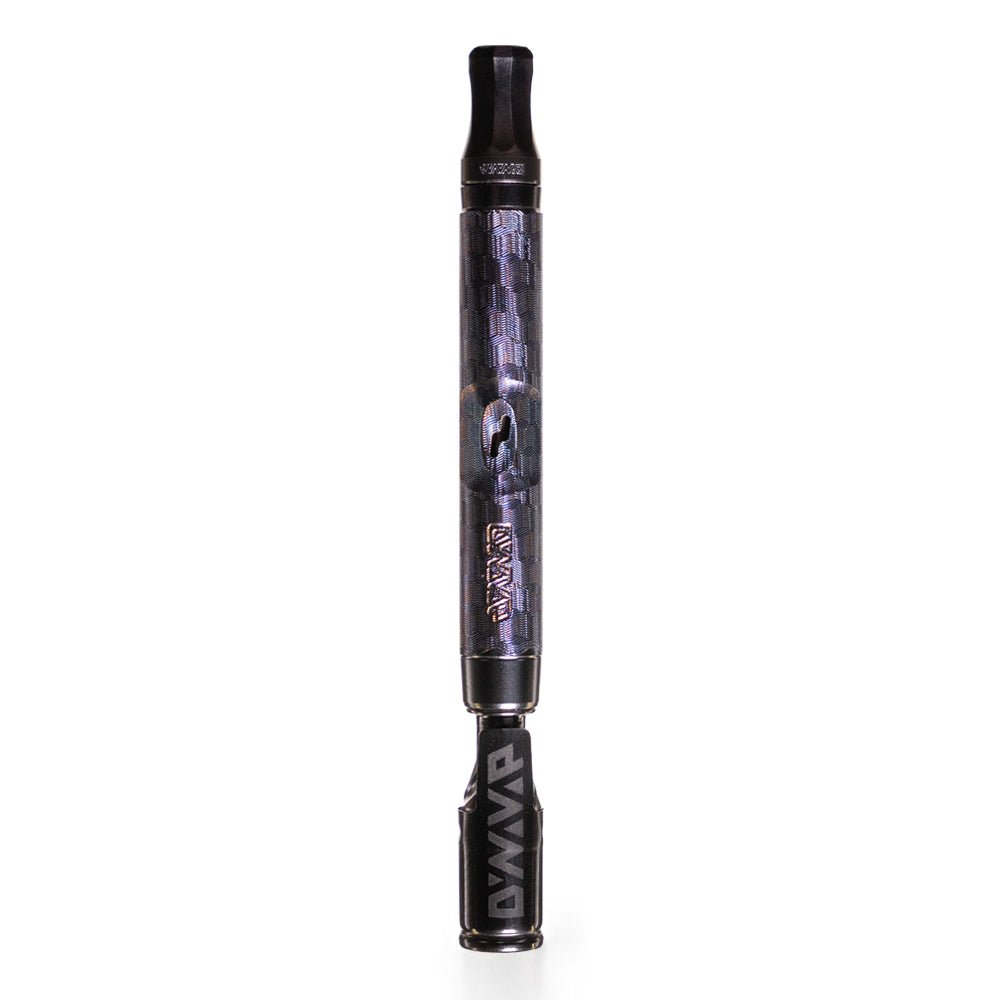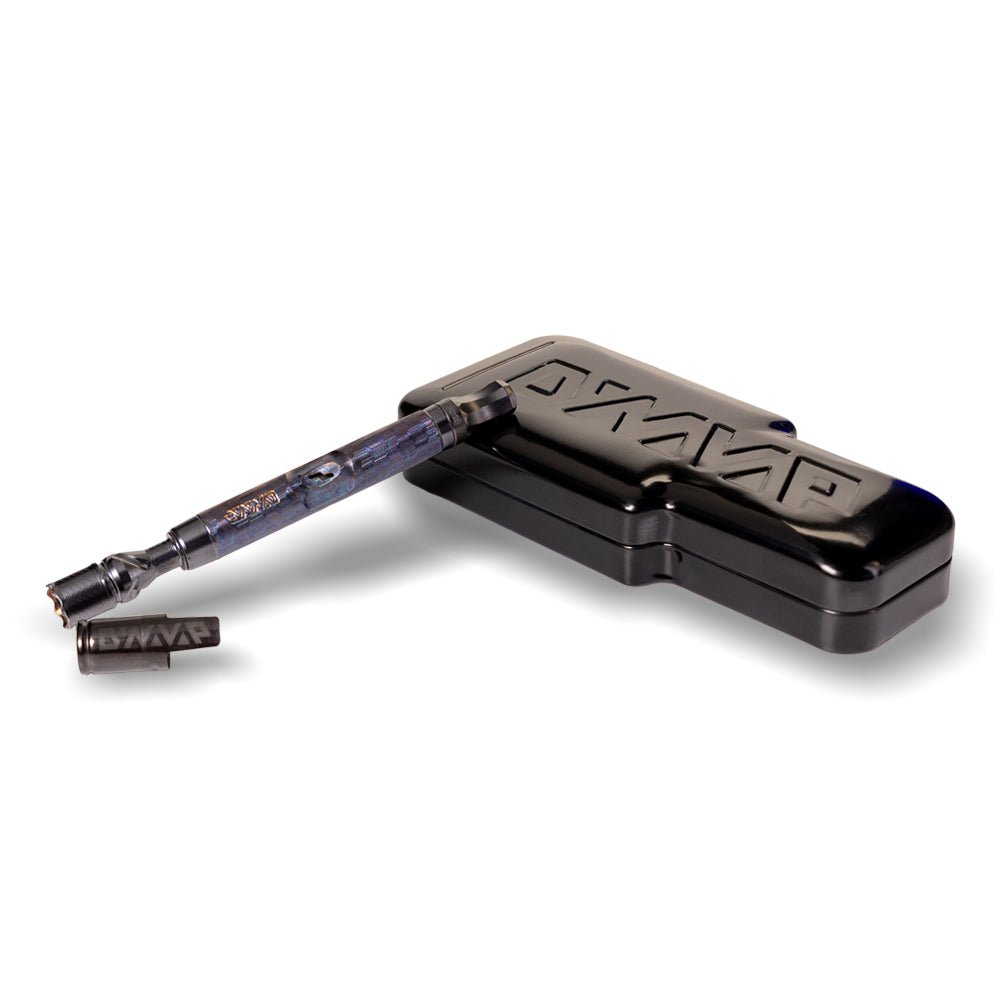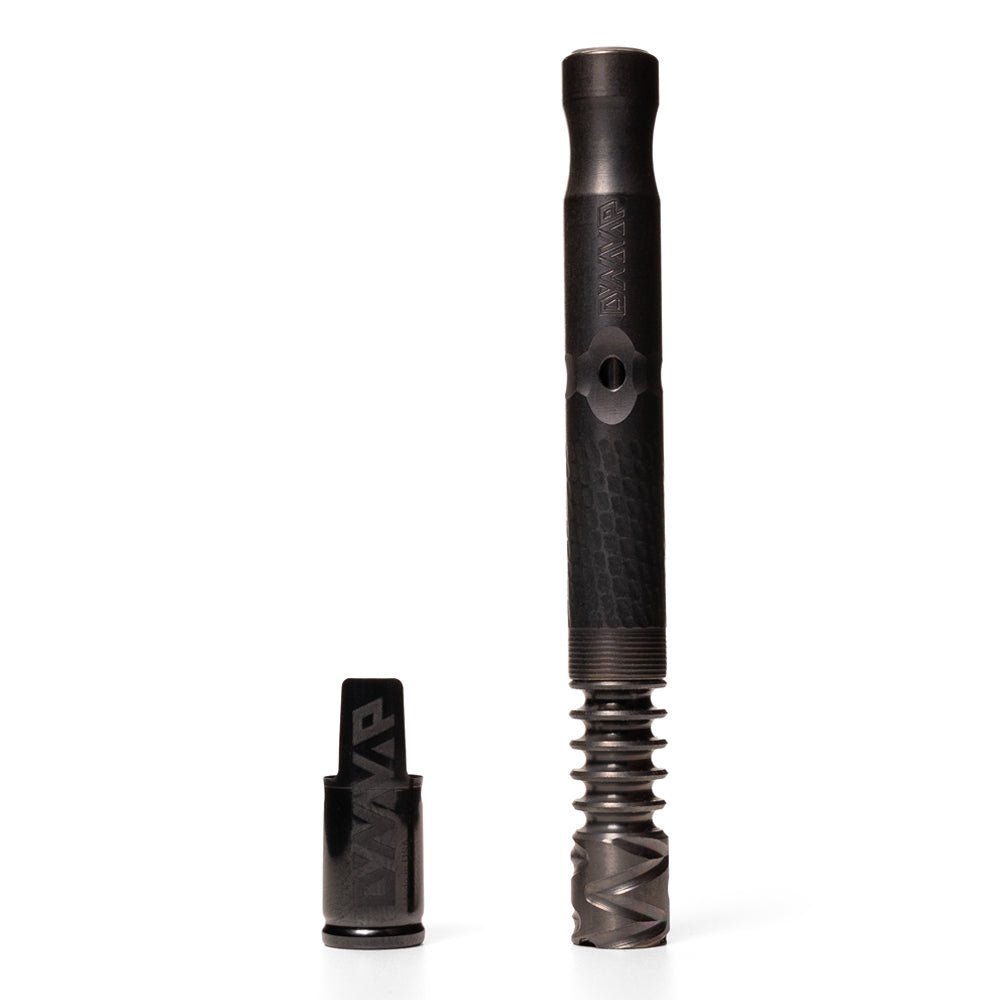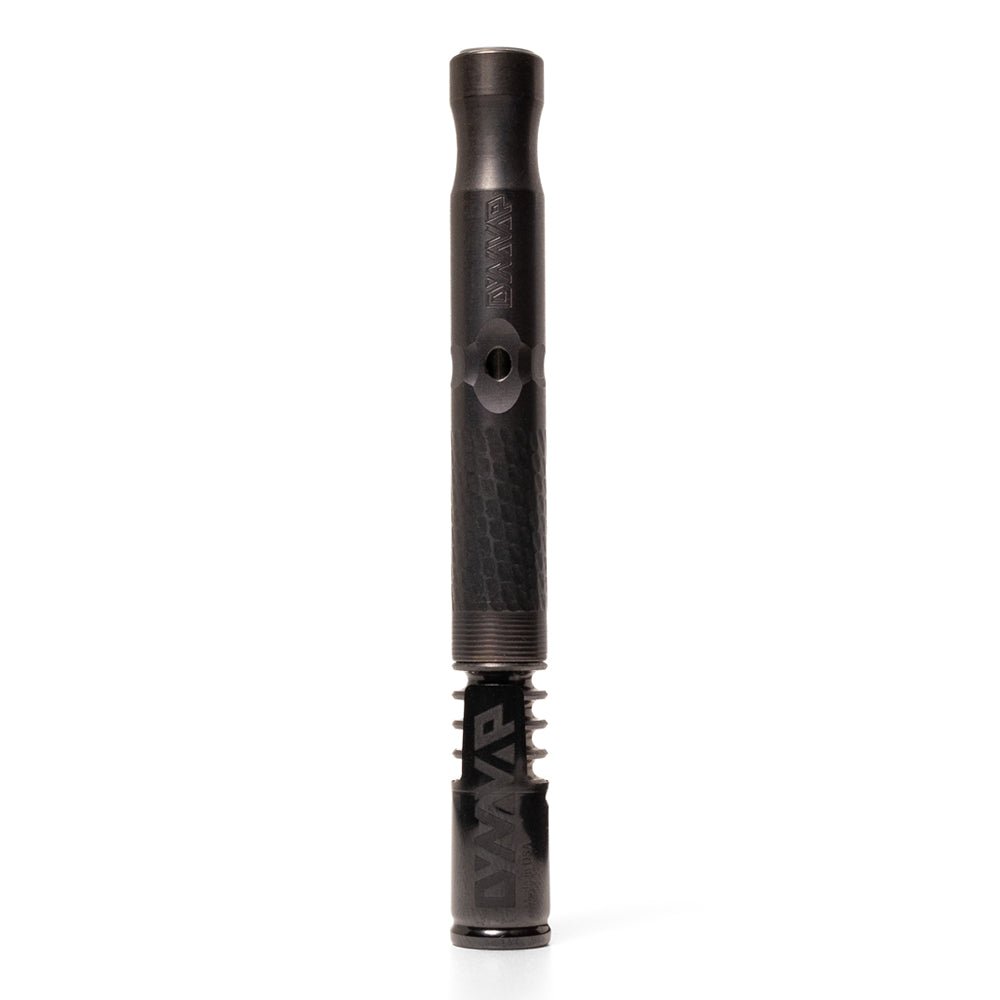


Replace DynaVap O-rings the moment your VapCap starts feeling a little “off.” Maybe the draw turns airy. Maybe the condenser suddenly slides like it owns the place. Those tiny rings do a big job, and when they wear out, your session usually tells you before your eyes do.
The upside is simple: O-rings are normal wear items, they cost very little, and swapping them is one of the fastest wins in all of DynaVap maintenance. You put fresh seals in, everything seats the way it should, airflow tightens up, and your Thermal Extraction Device (TED) feels dialed again.
Replace DynaVap O-Rings: Which O-rings you should actually mess with
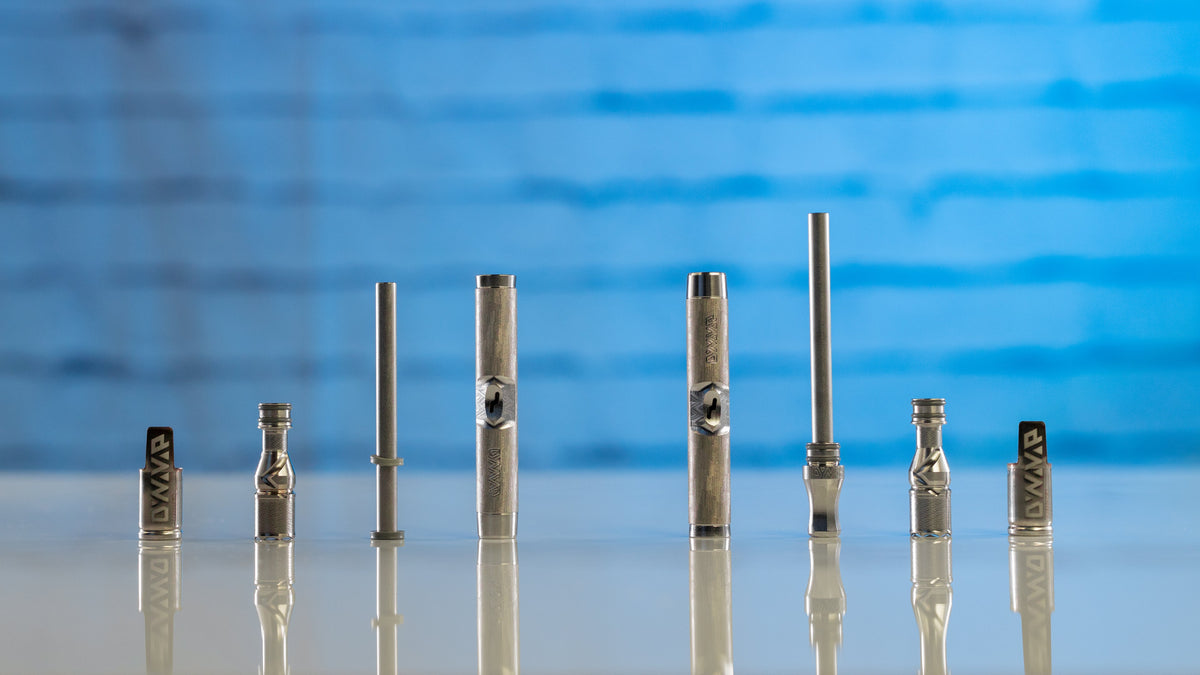
Your VapCap has two main O-ring neighborhoods, and they are not a free-for-all. We break it down in our FAQ: O-rings and cleaning for DynaVap, but here’s the real-world version:
- Condenser O-rings live on the Condenser. They handle the slide-fit seal inside your stem or body. These are the rings you will replace least often.
- High Temp O-rings sit on the Tip and Mouthpiece assemblies. They deal with heat cycles and repeated use, and they are designed to stay put. Treat them like “leave them alone unless there’s a reason.”
If you mix these up or start swapping the wrong ones “just because,” you can create the exact fit issues you were trying to fix.
Replace DynaVap O-Rings when the feel changes (not when it’s a total failure)
Most people notice performance before they notice damage. The seal is a tactile thing. When it changes, your brain catches it fast. If you feel any of the following, you are probably due for new O-rings:
- The draw gets airier than normal
- The Condenser feels loose or “floaty” in the stem
- Parts do not seat the way they used to
- You spot flattening, cracking, bulging, or tearing on a ring
Those symptoms line up with what other hands-on owners call out too, including air leaks and visible ring wear.
One more tip: if you are still new and you are not sure whether it is your technique or your seals, spend five minutes with our step-by-step DynaVap cleaning tutorial. It helps you separate heating and airflow habits from actual hardware issues.
Replace DynaVap O-Rings: Your simple setup (no workbench required)
You do not need a “maintenance station.” You need a clean surface, decent light, and a little patience. Here’s the short list we use ourselves.
- Fresh O-rings to replace old ones that have worn down over many, many uses
- Isopropyl alcohol for metal parts if you are deep cleaning
- Cotton swabs or a soft cloth
- Lubricant, ideally DynaWax, or a tiny amount of lip balm or food-safe oil
And yes, wait until everything is fully cool. Respect the click and the Cooldown Click. If your setup is still warm, you are more likely to rush, slip, or stretch something you did not mean to.
Step-by-step: Replace DynaVap High Temp O-Rings (the fast win)
- Let the device cool completely. Cap, Tip, and stem should be comfortable to handle.
- Disassemble in a calm order. Remove the Cap, then remove the Tip from the stem or body.
- Note where each ring sits. There are specific grooves and positions. If you forget, pause and check before pulling them off, or check the product page picture.
- Remove the old Tip O-rings. Pinch them and grab them gently. If a ring is brittle, go slow so it does not shred and leave pieces behind.
- Clean your metal parts if needed. If you are doing a deep clean, soak the Tip, Condenser, and midsection in isopropyl alcohol for 15 to 30 minutes, then rinse and fully dry. Do not soak the Cap. For the rings, avoid long alcohol soaks since the material can dry out faster when it is repeatedly exposed to alcohol.
- Add a thin film of lubricant to the new rings. Not a glob. Just enough to make the surface feel smooth.
- Install the new rings without over-stretching them. Roll them into their grooves instead of pulling them wide and yanking them on.
- Reassemble with steady pressure and a slight twist. If the Tip catches an o-ring, stop. Add a touch more lubricant and try again. Forcing it is how rings get tears.
A small, surprisingly useful move: as you seat the Tip back into the Midsection, give a slight twist as the connection reaches the o-rings.
Tip O-rings: Clean around them, do not make removal your default habit
We get it. When you are already taking everything apart, it feels natural to pull every ring you can see. With Tip O-rings, that habit usually backfires.
Our guidance in the DynaVap FAQ: maintenance and O-ring care is straightforward: avoid removing High Temp Tip O-rings during normal cleaning. Frequent removal increases your chances of stretching them, tearing them, or losing one at the worst possible time.
If you truly need Tip O-ring service because something is damaged or fitment is clearly wrong, go slowly and treat it like a careful repair task, not an every-clean routine.
Make O-rings last longer: small habits that save you time later
Most O-rings do not “expire.” They quit because they get dry, get dragged through gritty buildup, or get punished during reassembly. If you want fewer swaps and smoother feel, do these:
- Use a little lubricant every time you reassemble. This is the difference between smooth ownership and more ring drama.
- Keep alcohol for metal parts. Alcohol is great for stainless steel and titanium, but repeated or prolonged exposure is rough on o-rings.
- Do not muscle parts together. If something feels wrong, it usually is. Back up and check ring placement and lubrication.
- Keep spares. A couple extra rings in your kit means you never have to baby a worn seal through the week.
Quick fit cheat sheet (so you do not second-guess yourself)
| Area | What it affects | How often you typically replace | Best practice |
|---|---|---|---|
| Condenser O-rings | Seal and slide-fit inside the stem or body | As needed, when feel or seal changes | Light lubrication, gentle twist on reassembly |
| High Temp O-rings | Tip and Mouthpiece Assembly fitment and heat-cycle durability | Only when damaged or clearly problematic | Clean around them, avoid routine removal |
Get the right O-rings
High Temp O-Rings go on Tips and Mouthpiece assemblies, while Condenser O-Rings go on our Standard or XL Condensers.
When you are ready to stock up, grab what you need in our DynaVap replacement parts shop. Toss in an extra set while you are there. Future you will appreciate it.
FAQ: Replacing DynaVap O-Rings
How often should you replace DynaVap O-rings?
There is no fixed schedule. Replace Condenser O-rings when you notice air leaks, looseness, or visible cracking or flattening. If your device suddenly feels “airy,” that is often your first clue.
Do you need to replace High Temp O-rings during normal cleaning?
Usually, no. Tip or Mouthpiece assembly O-rings are designed to handle heat cycles and normal cleaning, and pulling them off routinely increases the chance of damage or loss.
What lubricant is best when you replace DynaVap O-rings?
A thin film of DynaWax is ideal. In a pinch, a tiny amount of lip balm or food-safe oil works. You are aiming for less friction, not a slippery mess.
Why does the Condenser feel hard to insert even with new O-rings?
New rings can feel grabby when dry, or they might not be fully seated in their grooves. Add a touch more lubricant, double-check placement, and reinsert with a gentle twist instead of straight force.
Conclusion
Small part, big impact. Replace DynaVap O-rings when the draw gets airy or the fit starts to drift, and keep a tiny bit of lubrication in your reassembly routine. Your VapCap will feel snug, consistent, and ready for the next heat cycle.
Need to refresh your kit? Start with DynaVap parts and replacement components so you have the right rings on hand when your device asks for them.