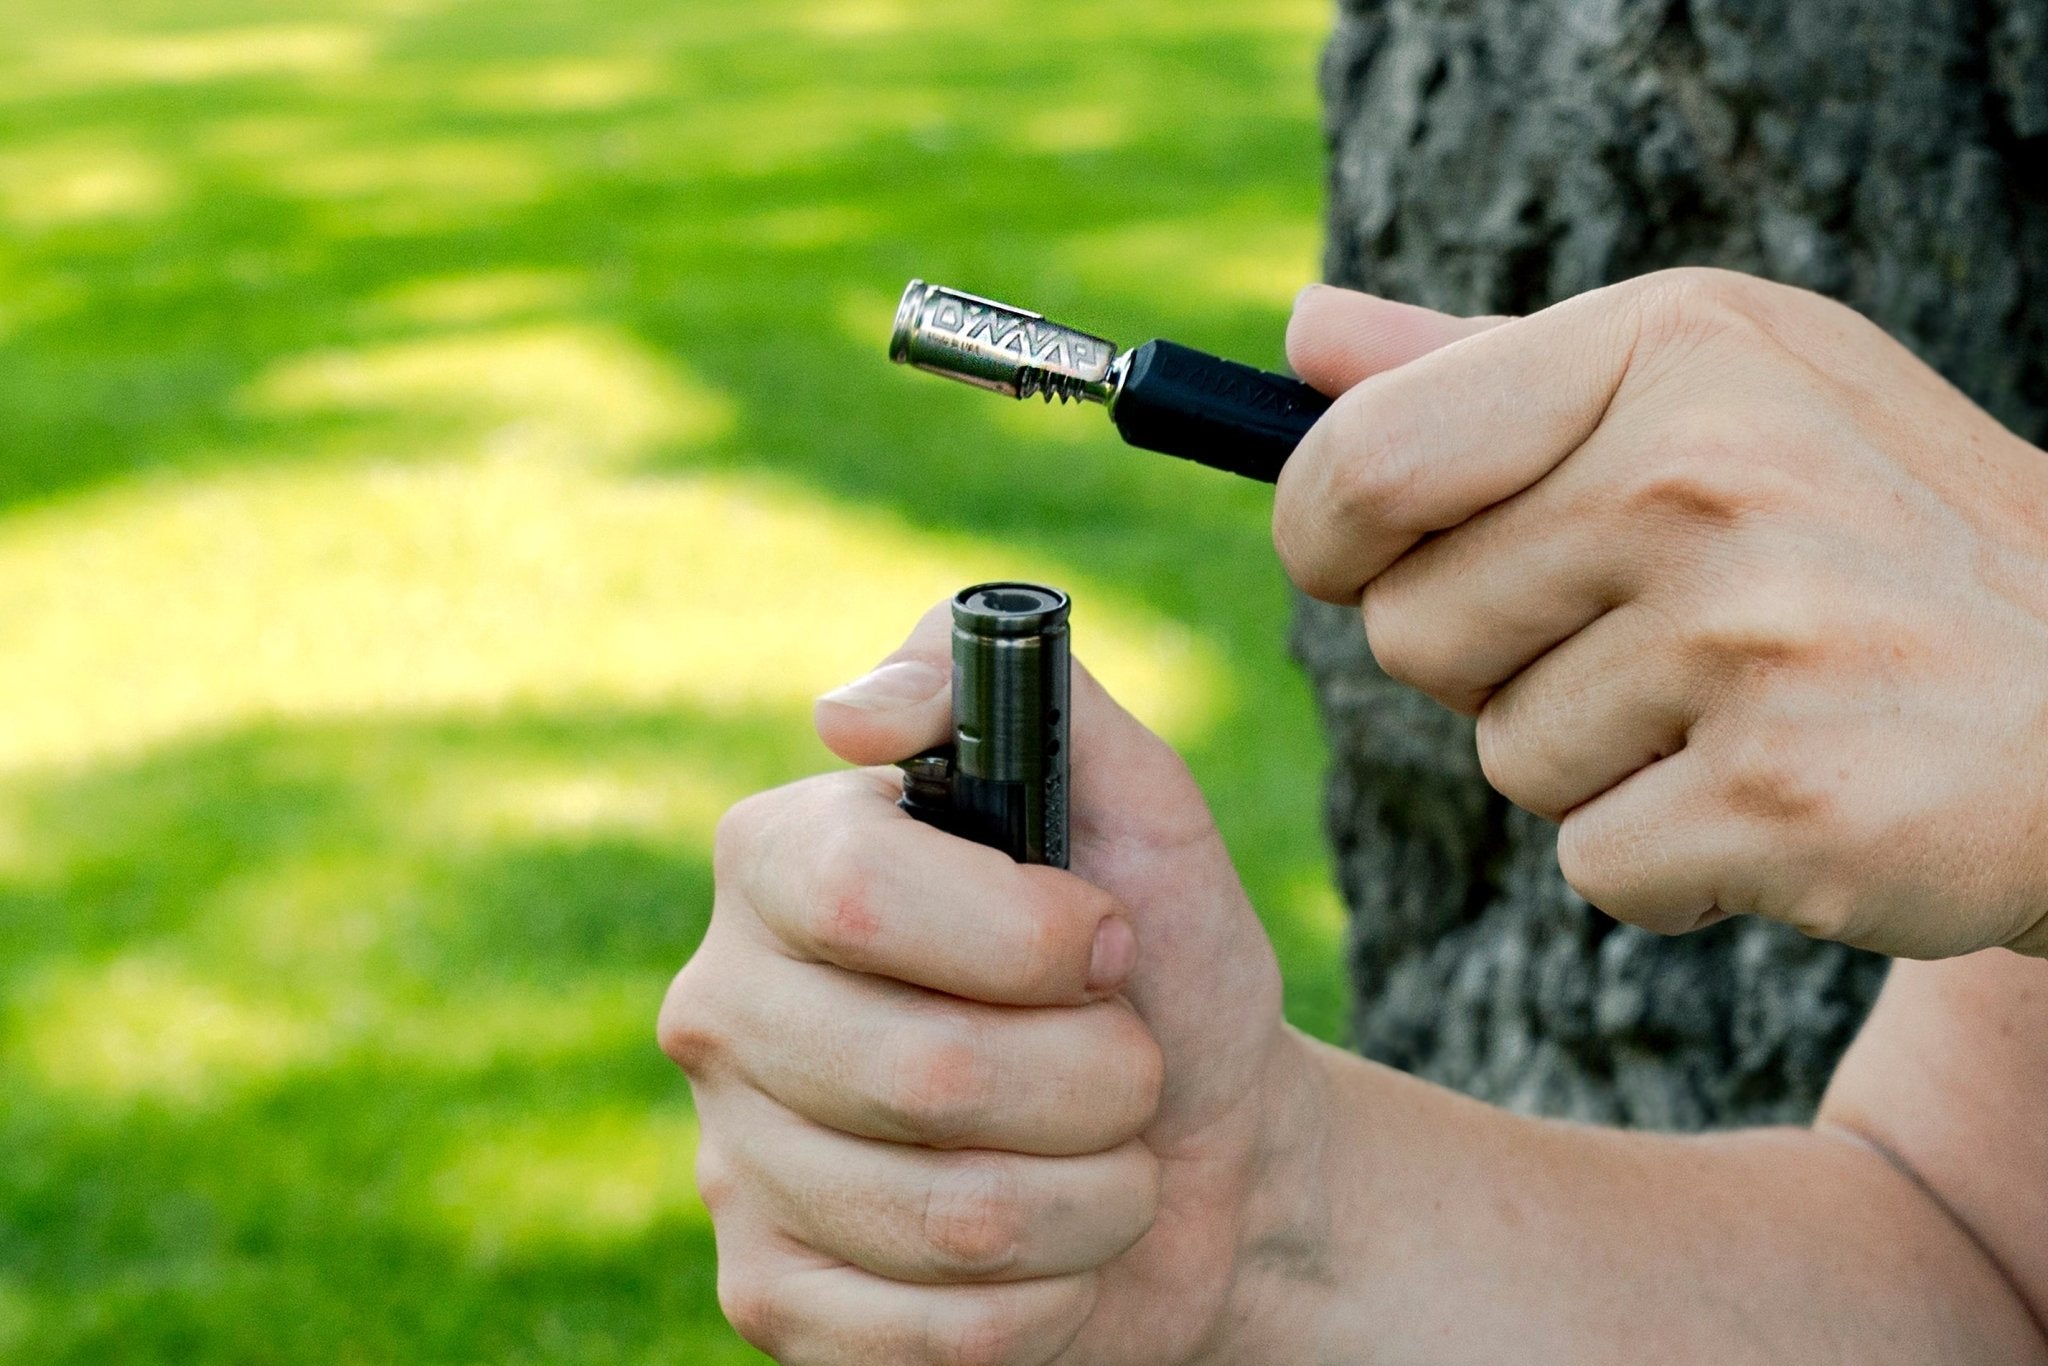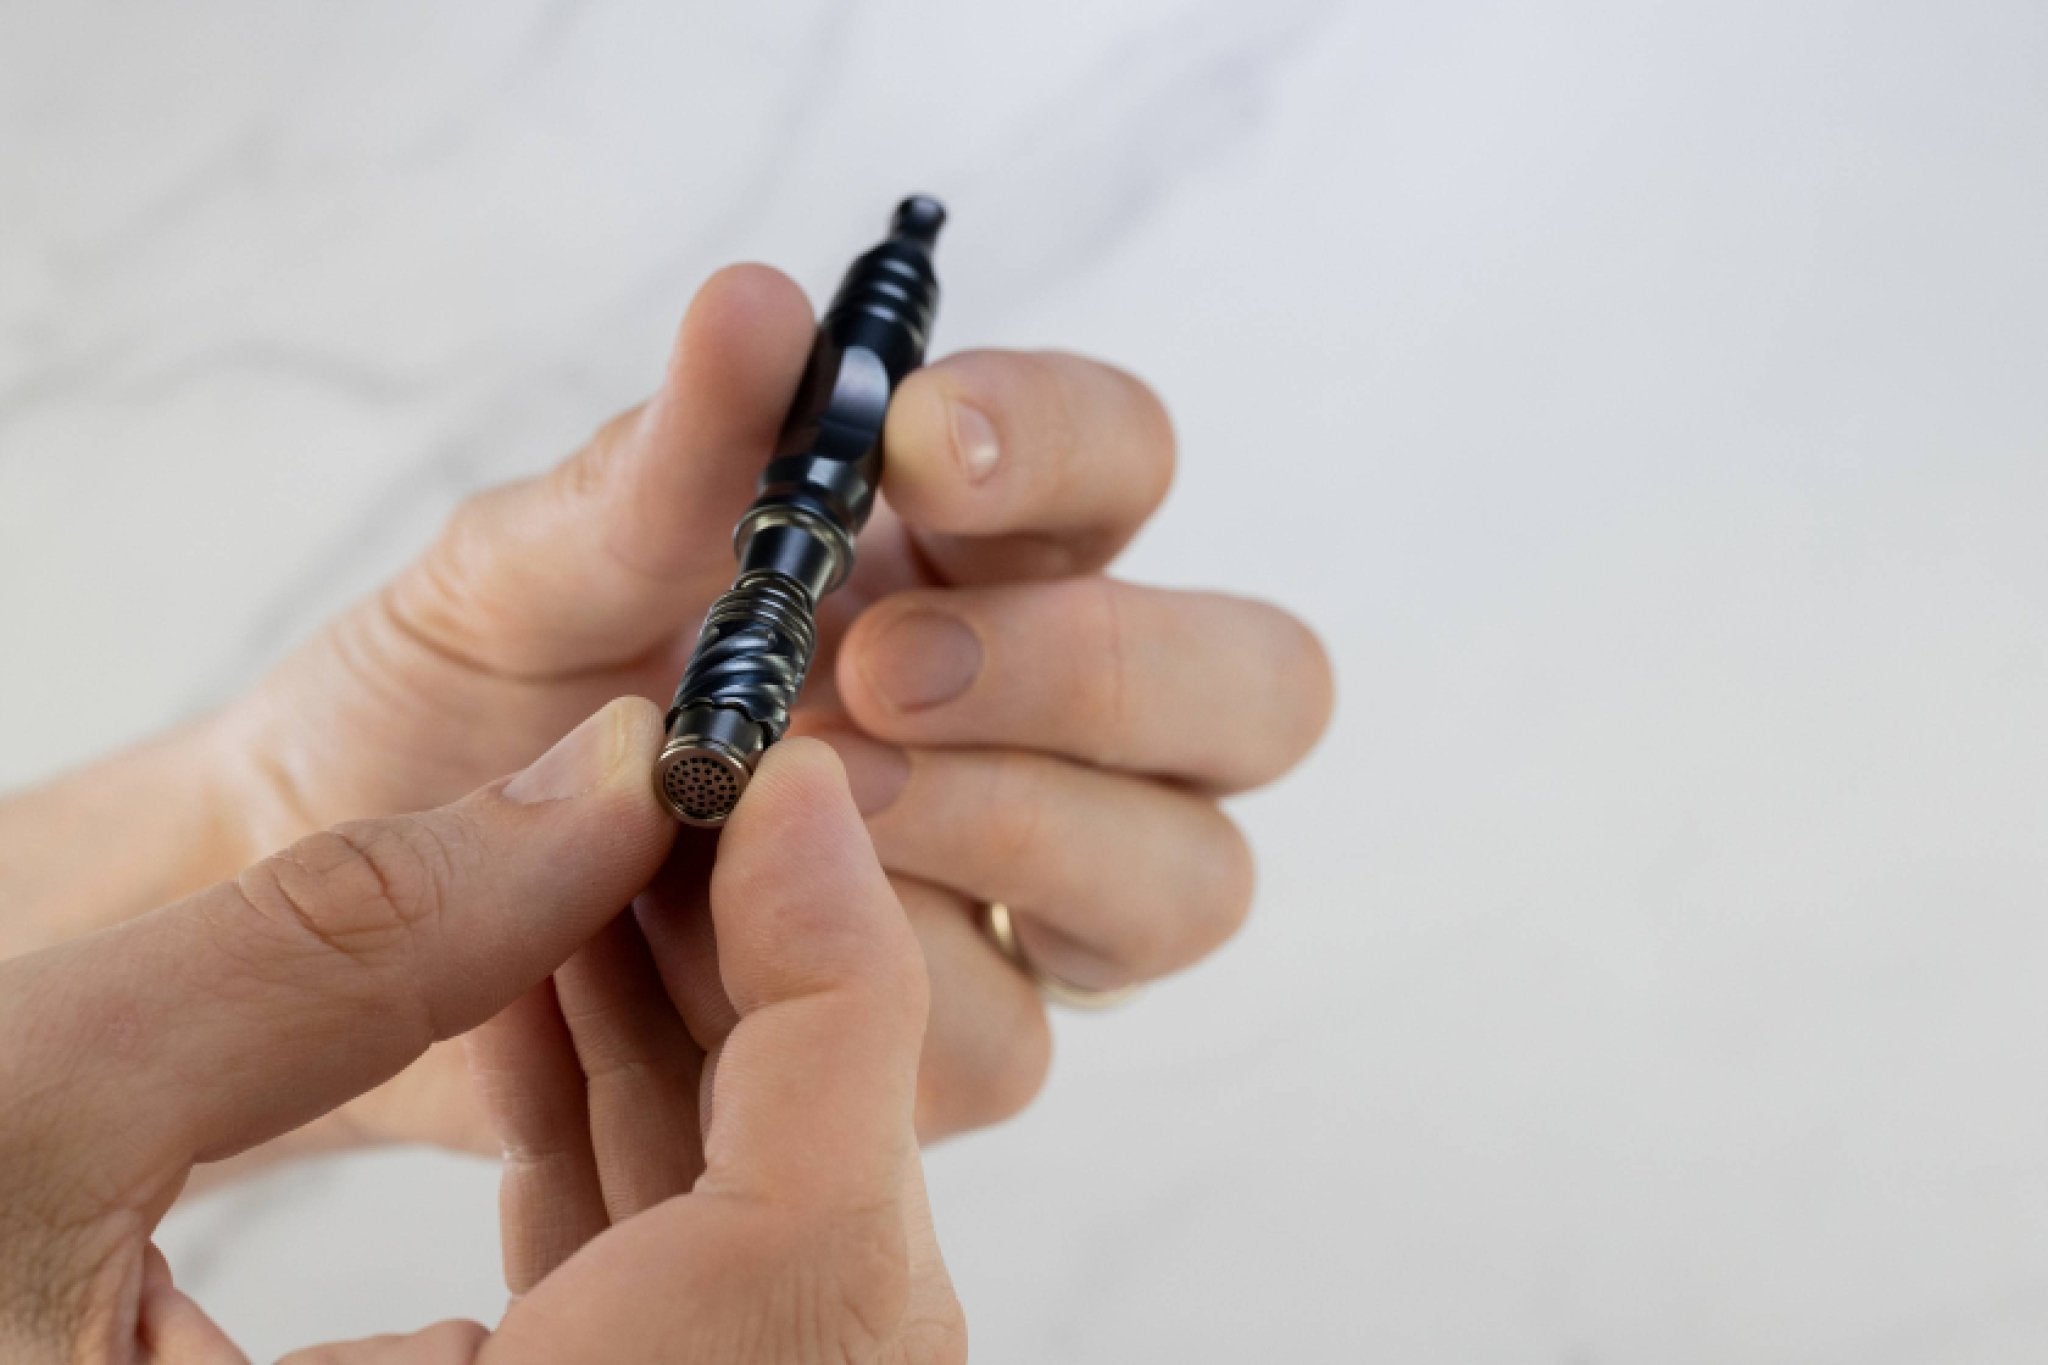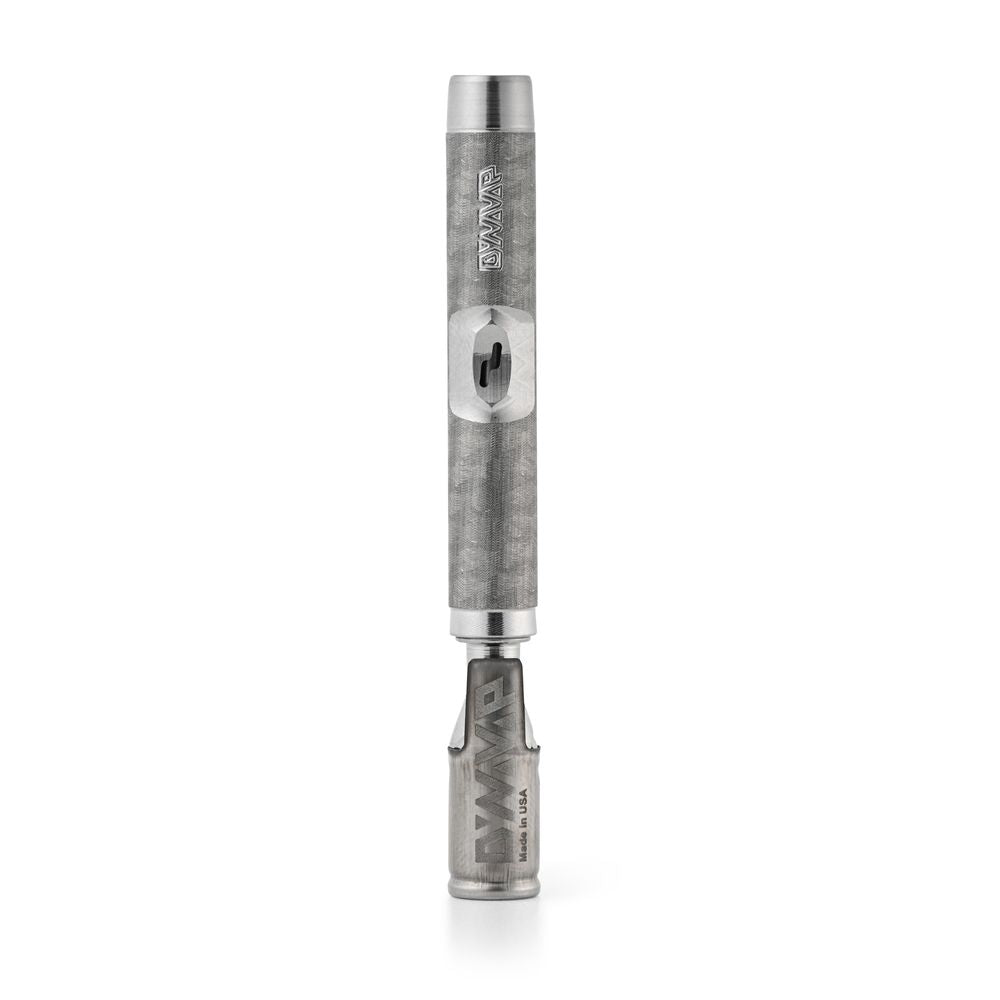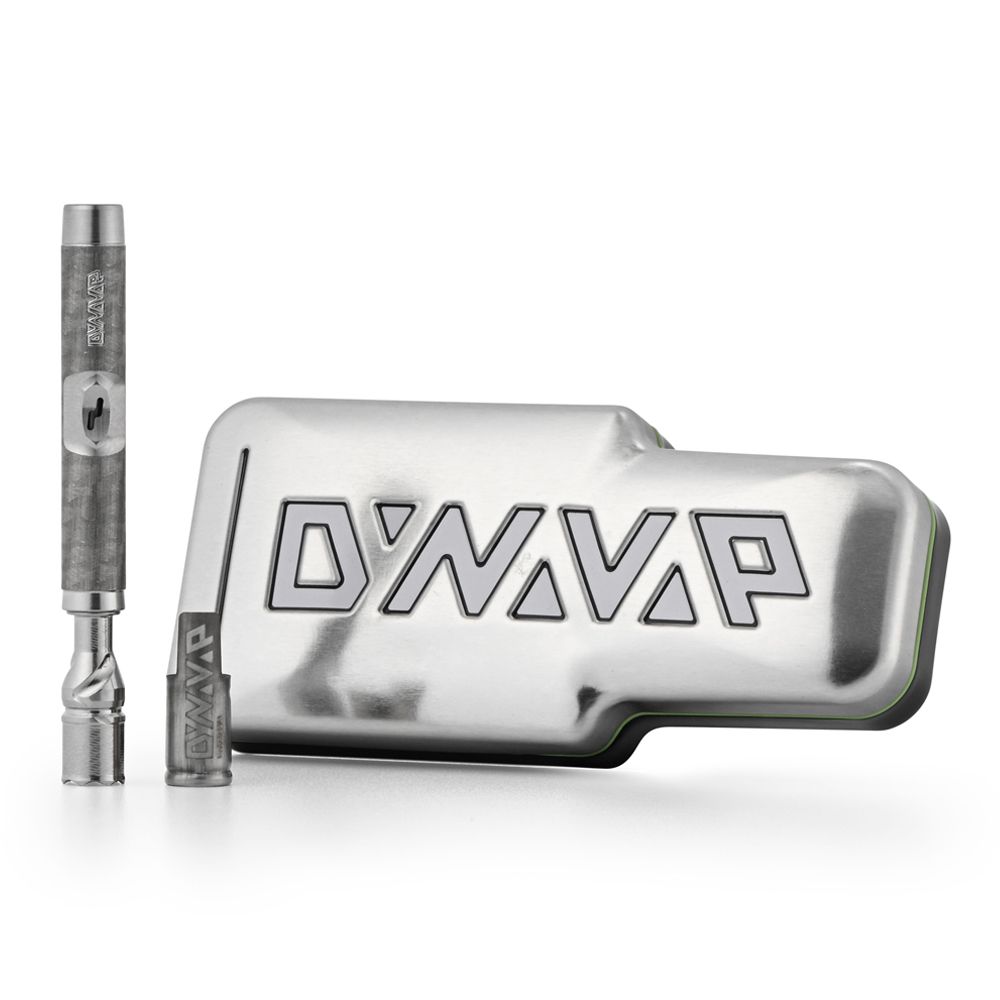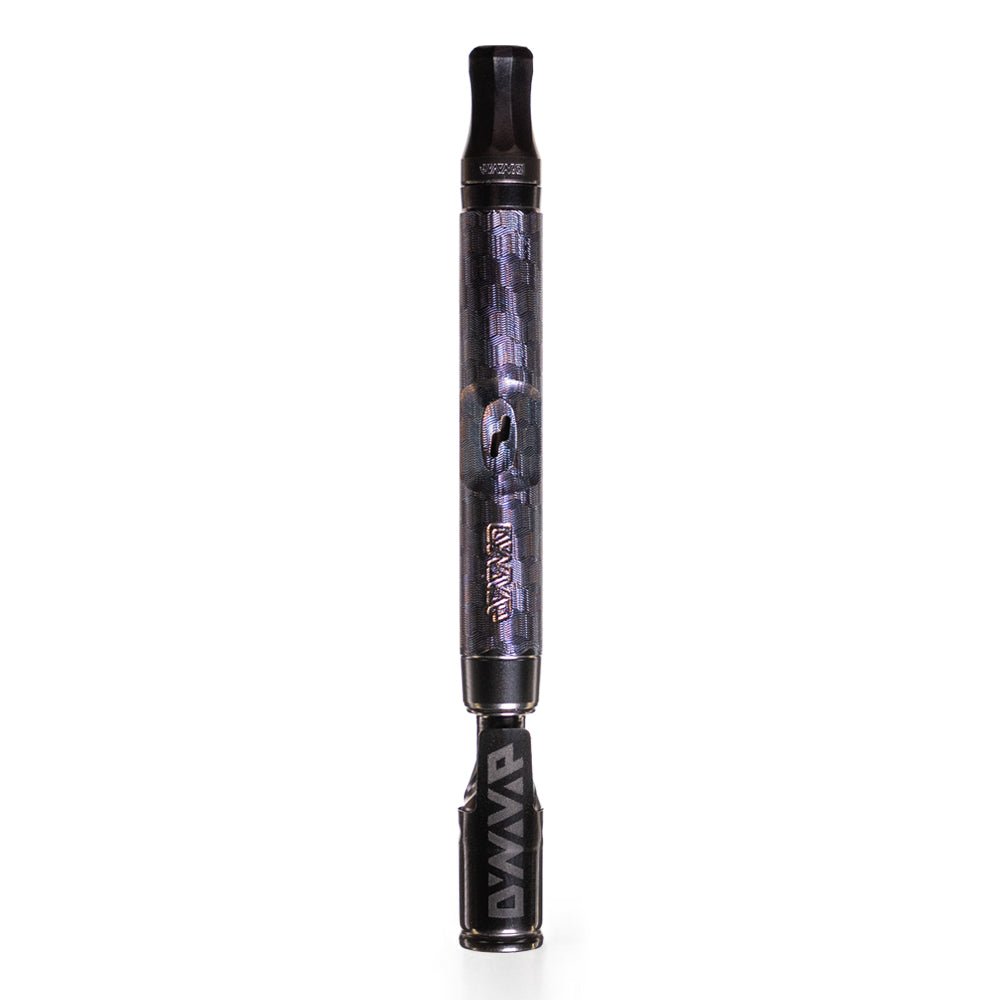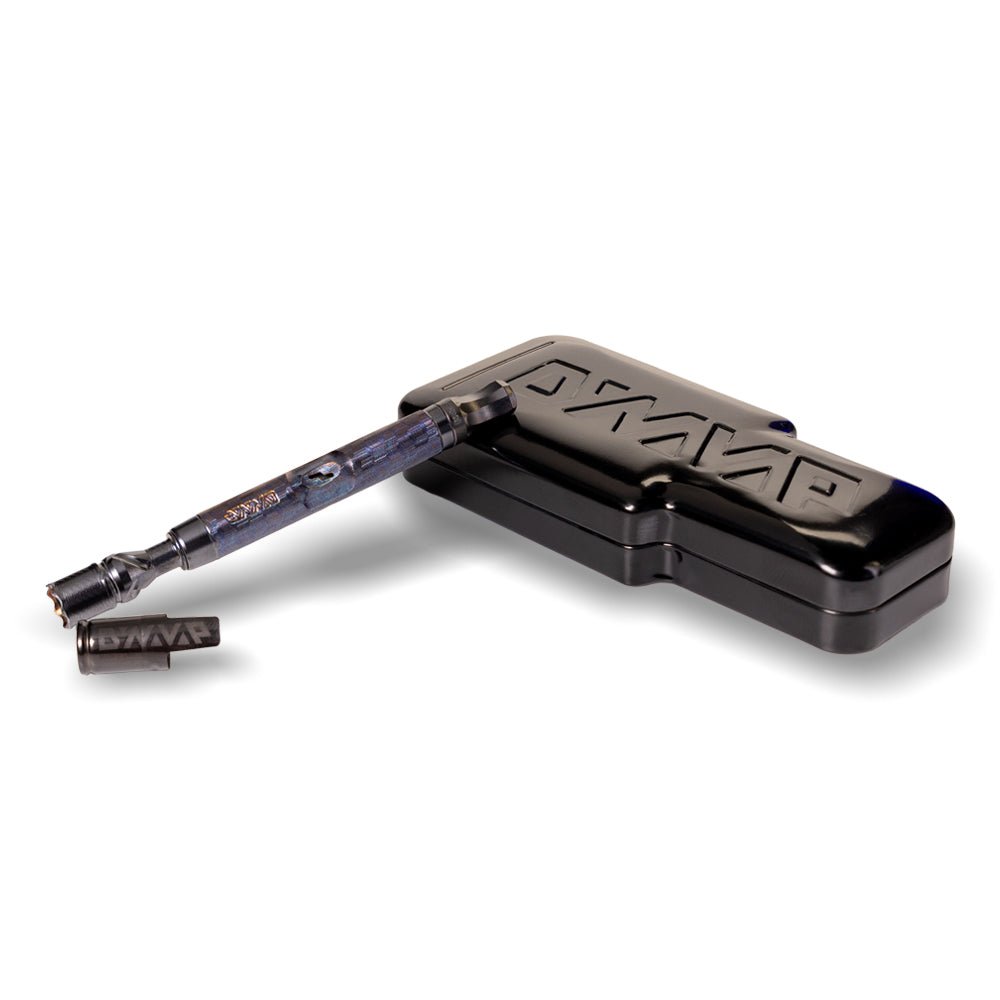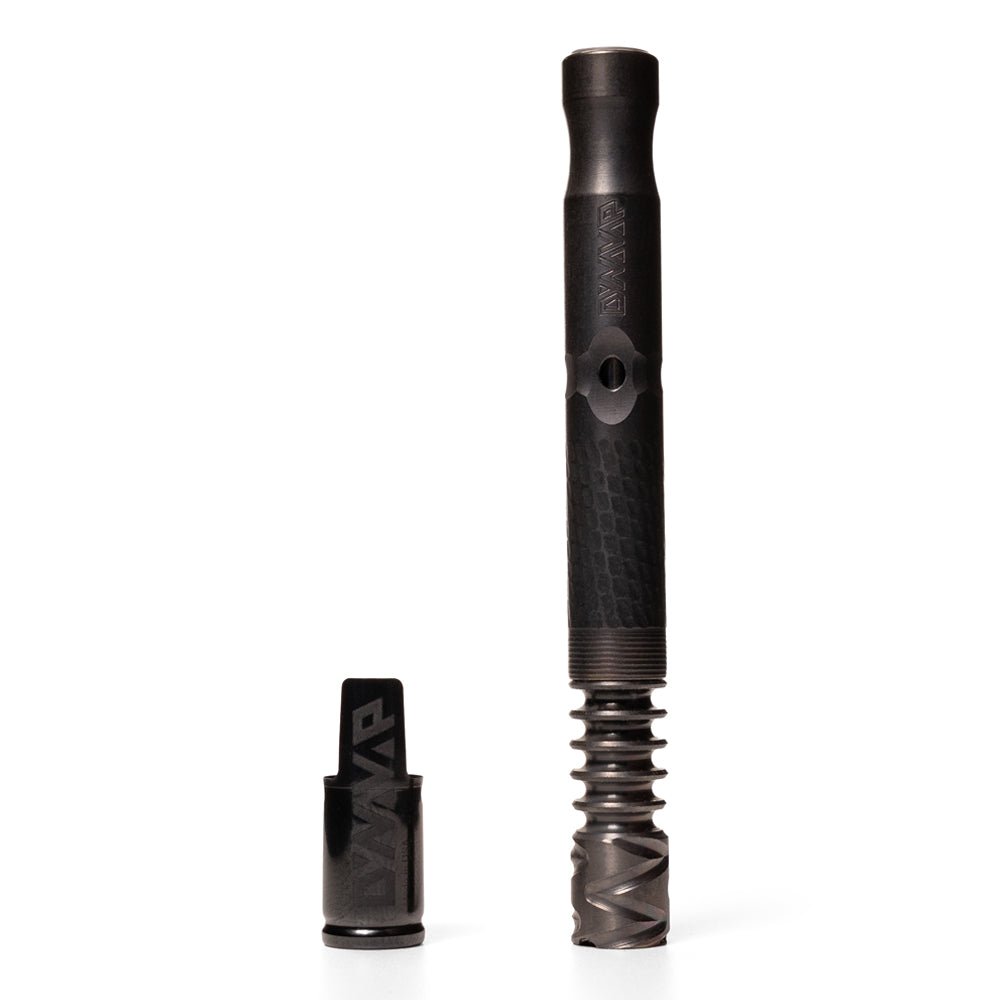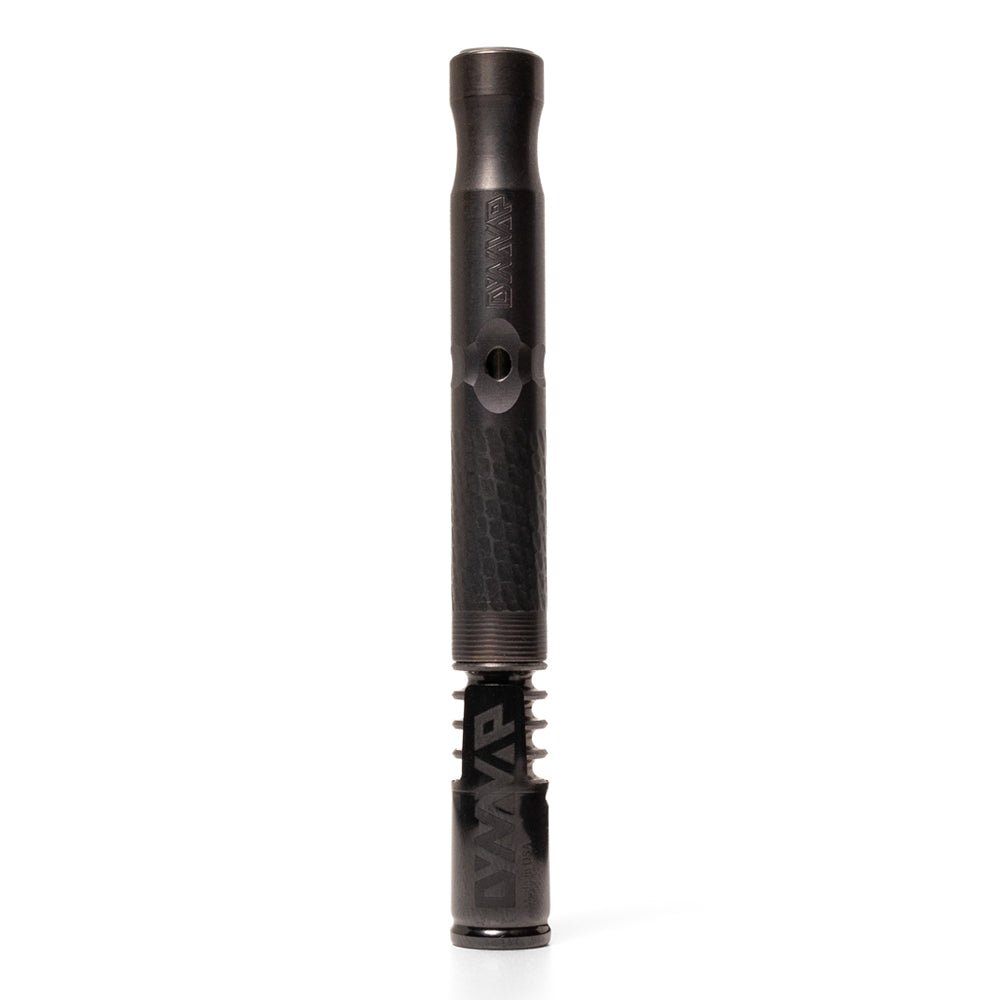


DynaVap parts explained is the quickest way to go from “Okay, I’ve got a VapCap” to actually knowing what each piece is doing while you heat and draw. We built our Thermal Extraction Device (TED) platform to be modular on purpose, so once you learn the basics, you can tweak airflow, flavor, and session feel by swapping a part or two instead of replacing your whole setup.
Think of this as the friendly map you wish came taped to the tin: what the Cap is telling you, how the Tip behaves, why that tiny CCD screen matters, and how the airport changes the vibe of a hit.
DynaVap parts explained: The Cap and the click you learn to trust
The Cap is the part that makes DynaVap feel “analog” in the best way. It slides over the Tip, seals the chamber, and gives you an audible temperature cue with a bimetal system. When it reaches the vaporization range, it clicks. When it cools enough to go again, it clicks again.
If you’re new, here’s the mindset that saves you a lot of trial and error: Respect the Click. Use it like a guardrail. Heat until the click, stop heating, then draw. When you hear the Cooldown Click, that’s your green light to start the next heat cycle without pushing things into harsh territory. If you want a simple “what now?” routine after that second click, we laid it out in DynaVap Cool Down Click: What to Do Next.
Cap design can also shift how the whole device breathes. If you’ve ever wondered why one cap feels a little airier or more forgiving, it’s not in your head. The Perforated Captive Cap is a good example of how small geometry changes can open up airflow and nudge your heat window.
DynaVap parts explained: The Tip is your bowl, your heat sink, and your “feel”
The Tip is where your dry herb goes, and it’s the part you’re actually heating through the Cap. If the Cap is the referee, the Tip is the playing field. Material and design choices change how fast it warms up, how long it holds heat, and how forgiving it is if your torch position wanders a bit.
Many Tips include Adjust-a-Bowl. In plain terms, it lets you shrink the chamber so you can run smaller loads without the device feeling finicky. That comes in handy for quick sessions or any time you want “a little” instead of “a lot” while keeping your draw consistent.
One practical tip from our own benches and our own pockets: when you switch Tips, give yourself two or three heat cycles to recalibrate. Same herb, same torch, different metal and finning can still feel like a new instrument.
DynaVap parts explained: CCD and condenser (the small parts that keep things clean and consistent)
If you’ve ever searched something like “cap tip condenser,” you’re not alone. These little components are easy to overlook until the day they aren’t doing their job.
First up, the Circumferential Compression Diffuser (CCD), also known as the CCD screen. It sits inside the Tip and does two big things:
- Filters fine particles so your vapor path stays cleaner and smoother.
- Sets bowl depth on Adjust-a-Bowl Tips by changing where the screen sits.
If your draw suddenly feels restricted, or you’re getting more specks than usual, the CCD is one of the first places to look. A quick clean or a fresh screen can make an older setup feel brand new.
Next is the Condenser, the tube that runs through the stem from the Tip toward the mouth end. It helps guide vapor, supports the structure of the build, and plays a quiet role in airflow behavior. In longer XL-style setups, that internal pathway becomes even more noticeable, because extra length changes cooling and draw feel.
When you’re ready to refresh worn pieces or experiment with a different feel, our replacement parts and customization collection is the easiest place to grab Caps, Tips, CCDs, condensers, and the small fitment parts that keep everything snug.
Mouthpiece basics: comfort and cooling
The mouthpiece is where everything comes together, literally. Some setups use a dedicated mouthpiece; others are designed so the condenser end is the mouth end. Either way, this part is about comfort and control.
If you like a cooler draw, or you’re using a water piece setup, a compatible mouthpiece or adapter can be a real quality-of-life move. Just keep in mind: when you add cooling or change restriction, you’ll probably want to adjust your heating style. You might heat a touch higher on the Cap, change your rotation, or slow your inhale a little. That’s normal. It’s part of learning your own rhythm.
The airport: your on-the-fly airflow mixer
The air port is the small air intake hole on the stem. People often call it a carb, but it behaves more like an air-mix control. You’re blending fresh air into the vapor stream while you inhale, and that changes how dense the vapor feels and how warm it hits.
- Airport covered: denser, warmer vapor with more pull through the Tip.
- Airport open: cooler, lighter draws with more fresh-air mix.
- Feathering: partially covering it mid-draw to fine-tune the hit in real time.
A lot of people end up with a personal habit: open airport early for flavor, then cover more as the heat cycle goes on for thicker extraction. There’s no single right way, but there is definitely a “right way for you.”
How it all works together (why modular ownership is the whole point)
Once the pieces click in your head, the device starts to feel less like a gadget and more like a tool you can fine-tune. Here’s the simple chain reaction:
| Part | What it does during a heat cycle | What you’ll notice if it changes |
|---|---|---|
| Cap | Signals temp range with the click, seals the chamber | Timing, airflow feel, forgiveness window |
| Tip | Holds the load and handles heat transfer | Heat-up speed, cooldown pace, extraction style |
| CCD | Filters particles, sets bowl size on Adjust-a-Bowl | Draw resistance, cleanliness, bowl depth |
| Condenser | Directs vapor path and supports airflow structure | Consistency, cooling, stem feel (especially XL) |
| Airport | Mixes fresh air into the draw | Temperature and density control mid-hit |
This modular approach is why a simple swap of a single Part can change the whole session. It’s also why swapping in a replacement part, like a tired CCD, can bring a setup right back to form.
If you want to zoom out and match your goals to the right platform, our guide DynaVap model lineup for 2024 helps connect the dots between models and use cases like microdosing, portability, and water piece sessions.
And if you like reading a third-party overview before you tinker, comprehensive DynaVap guide from Planet of the Vapes is a solid outside perspective that mirrors a lot of what new owners run into. For another take, check out Reddit’s community-curated DynaVap guide as a user-driven resource.
FAQ
What is a CCD on a DynaVap?
CCD stands for Circumferential Compression Diffuser (CCD). It’s the small stainless steel or titanium screen inside the Tip. It filters particles and, on Adjust-a-Bowl Tips, it also helps you set the chamber size. If it’s clogged, warped, or missing, you’ll usually feel it in the draw.
Does the condenser actually matter?
Yes. The condenser is the internal vapor pathway and part of the structure of the build. It can affect airflow behavior and cooling, especially in longer configurations. If your setup starts feeling loose, inconsistent, or less clean, checking condenser fitment is a smart move.
Why does the Cap click twice?
The first click means you’re in the operating temperature range and you should stop heating. The second click is the Cooldown Click, which signals the Cap has cooled enough to start another heat cycle.
Is the airport the same as a carb?
Not exactly. A typical pipe carb is often used to clear smoke at the end of a hit. The DynaVap airport is an air intake that mixes fresh air into your vapor during the draw, so you can steer density and temperature as you inhale.
Can I mix and match Caps, Tips, and stems?
That’s one of the best parts of owning a DynaVap. All components are cross-compatible, so you can customize feel and performance without replacing your whole Thermal Extraction Device. Just watch details like condenser length, standard vs XL, and the HyperDyn line (the Hyper Cap and Tip are exclusive to each other, but the Tip fits any stem midsection.)
Conclusion
Once DynaVap parts explained clicks for you, the whole experience gets easier and more fun. You stop guessing and you start tuning. If you want to replace a small worn piece or build a new combo for a different style of session, swing by our Parts & Customization collection and keep your setup running like it should. Looking for personalized guidance? Contact our team for DynaVap support and advice.