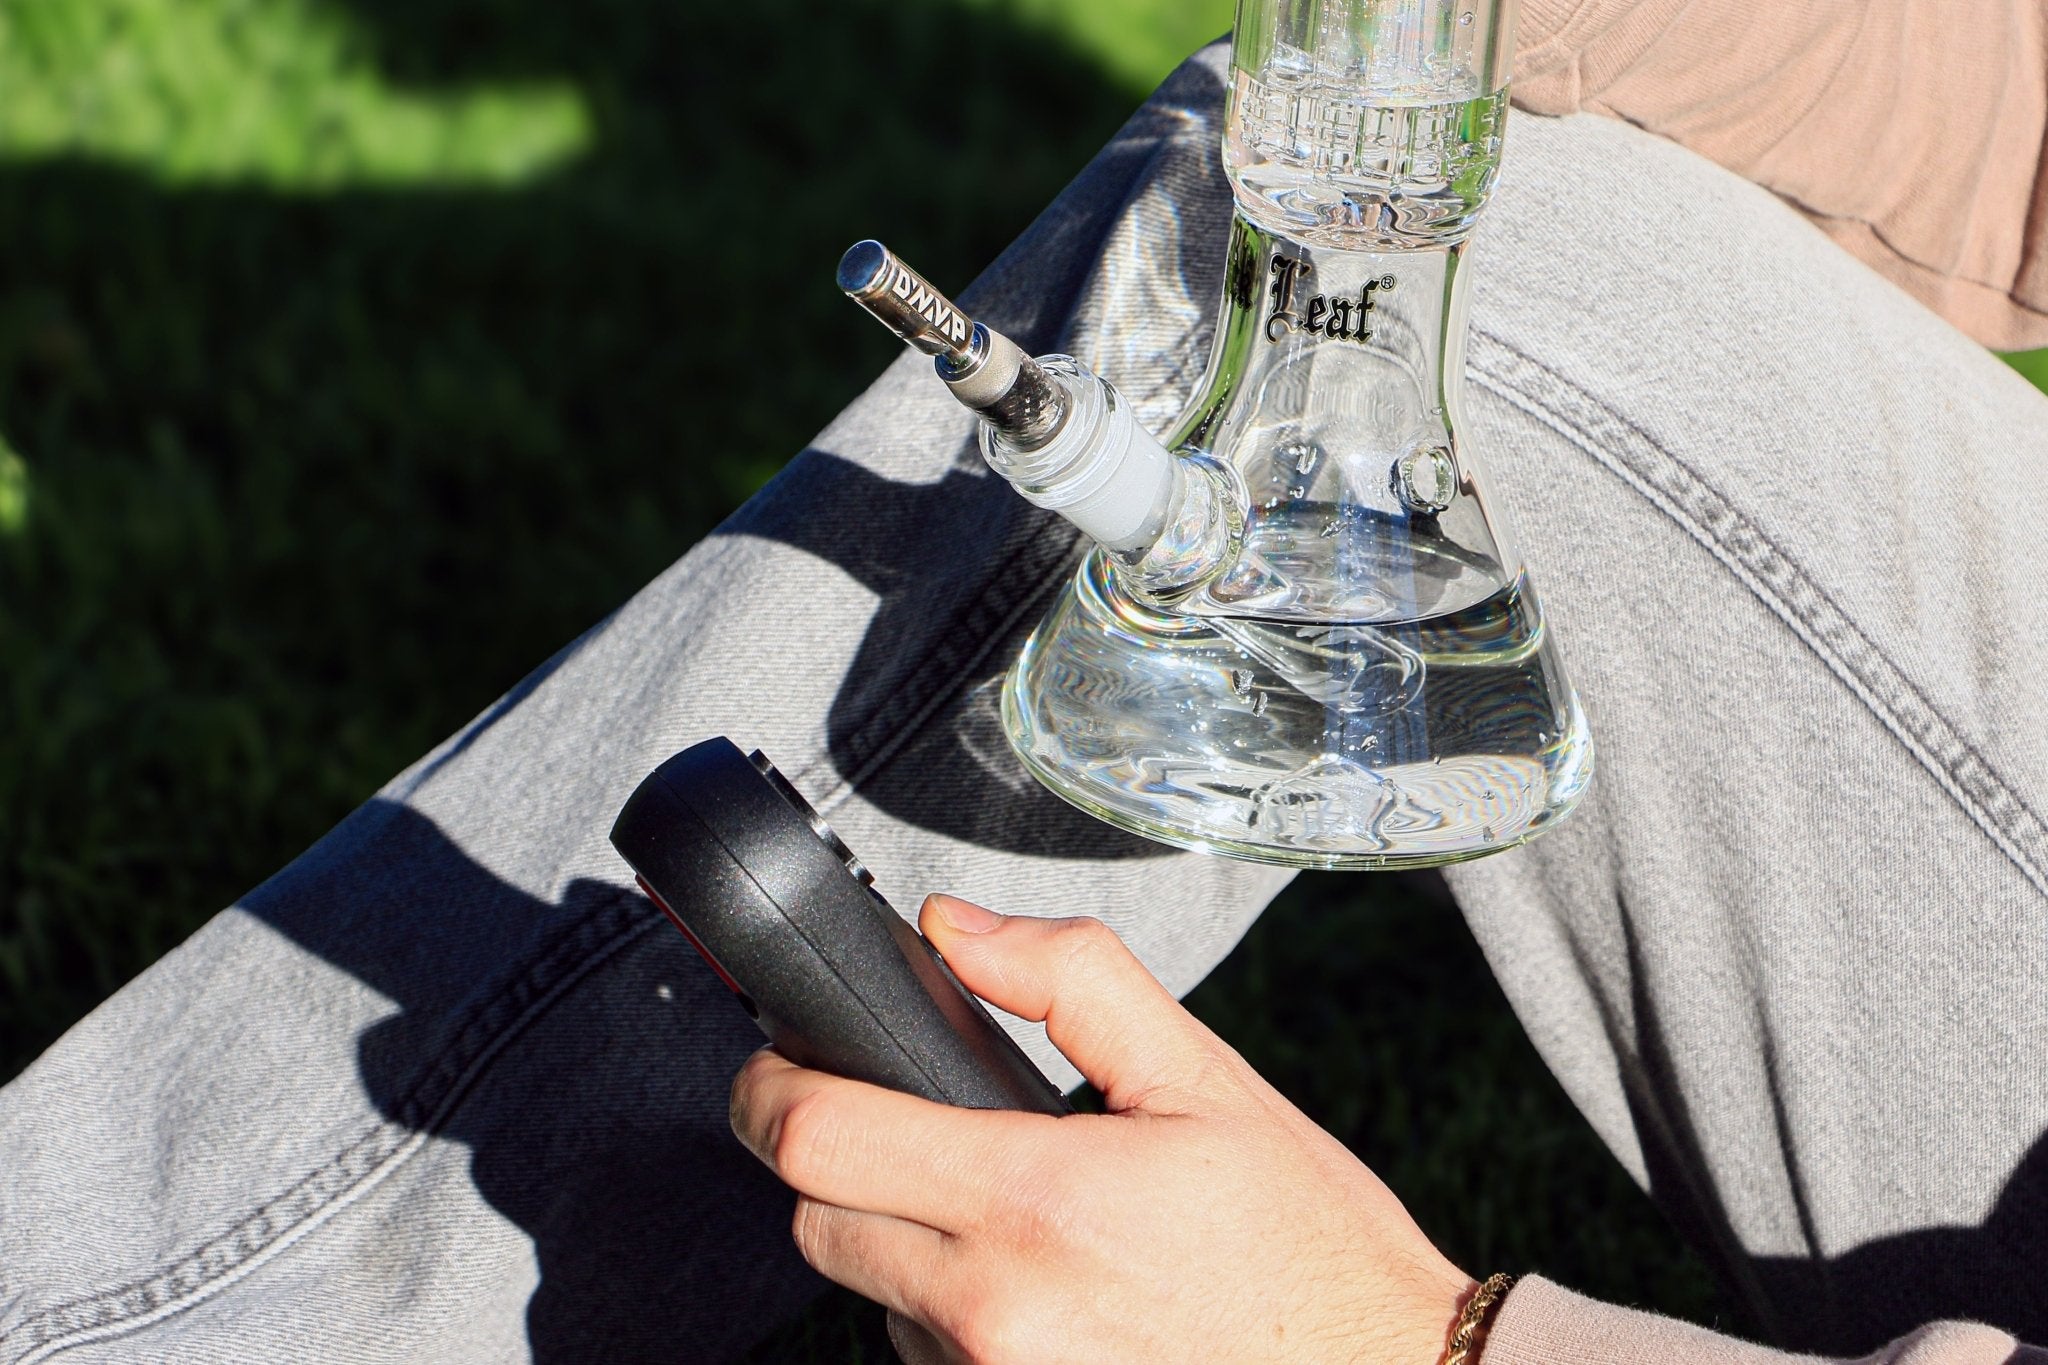
Welcome to the world of battery-free dry herb vaporization! At DynaVap, we know that stepping into your first session with a Thermal Extraction Device is a big moment. Whether you just unboxed your starter pack or are prepping to explore options like the classic M7 or sleek G3, this guide will set you up for success. By knowing the essentials for your first session, you’ll be well on your way to unlocking great flavor, efficiency, and all the intention that comes from hands-on control. Let’s walk you through your first steps with DynaVap for beginners.
Why DynaVap for Beginners Feels Different
If you’ve used traditional battery-powered dry herb vaporizers, DynaVap’s approach might feel like a revelation. Every DynaVap Thermal Extraction Device runs on pure mechanical feedback and your preferred external heat source. No batteries, no digital screens, and zero anxiety about charging cycles. When you heat the Cap, you’ll hear a signature click when the vaporization temperature is reached. This click is your guide to reliable thermal extraction, every single time. Still want a side-by-side breakdown? Check out our deep dive on thermal extraction devices versus vapes for more context.
DynaVap for Beginners: Respect the Click
There’s one golden rule for your first DynaVap session: respect the click. That little pop you hear from the Cap isn’t just clever engineering; it’s your cue that you’ve hit the right temperature for tasty, efficient extraction. Each DynaVap Cap is engineered to audibly click as soon as it’s hot enough, then again as it cools. Listen for that first click - start drawing gently, and let the device do what it does best. Curious how the click keeps things beginner friendly? Delve into the DynaVap quickstart guide for step-by-step tips.
Prepping for Session One with Your DynaVap
Your setup matters. Here’s how to get the best foundation for a great first session:
- Pick well-dried, finely ground herb for airflow and extraction.
- Remove the Cap to load your session.
- Don’t pack too tightly: A gentle tap is all it needs. Room for air means better vapor.
- Place the Cap back in place so it’s secure.
See these steps in action on our illustrated How to Use page and get a handle on the basics in under a minute.
Heating Technique: Start Soft for DynaVap Beginners
The first time you fire up your DynaVap, the type of flame matters more than you might think. Beginners get the smoothest start with a simple soft flame lighter, like you’d use for a candle, not a torch. Hold the flame so it's just touching the Cap and rotate the device smoothly. After 8 to 15 seconds, you’ll hear that click. The trick is to keep the device rotating and avoid any hot spots. If you’re looking for in-depth community wisdom, this comprehensive beginner’s guide spells out the details.
DynaVap for Beginners: Nail Your First Technique
DynaVap puts you directly in charge. The learning curve is part of the fun, and you’ll notice how every session gets more rewarding as your technique sharpens. Here’s a quick rundown for newbies:
- Rotate the device throughout heating - balanced heat means you'll get the most out of your herb.
- When you hear the first click, begin a slow, steady inhale.
- Take your time. Drawing too fast cools things down, while too slow can feel sluggish. You’ll find a rhythm.
- When you hear the cooldown click, it's time for another heat up or a pause.
Your first few rounds will teach you a lot. Experts say three to five sessions usually builds solid confidence. This ultimate guide for beginners walks through the timing and touch you can expect as things start to click.
Flavor First: What to Expect from DynaVap for Beginners
The first time you use DynaVap, you might notice less vapor than you expected. Don’t stress - if you’re tasting your herb’s natural terpenes, the session’s working as intended. Over a few more rounds, as you refine your approach, more vapor emerges alongside deeper flavor. DynaVap’s approach means you savor more, stretch your dry herb further, and discover a new side to extraction.
First Session Checklist: DynaVap for Beginners
- Prepare your flower and load into the Tip/chamber.
- Replace the Cap securely.
- Use a soft flame lighter, rotating the Cap evenly as you heat.
- Listen closely - start your draw right after the first click.
- Inhale gently for smooth vapor and taste.
- Wait until you hear the cooldown click before a second round.
Need a deeper walkthrough with troubleshooting tips? Explore our complete beginner’s guide for more support.
Tips for a Seamless Start
- Stick to core technique until you’re completely comfortable. Advanced moves can come later.
- Give yourself time to get a feel - early sessions are for learning.
- Maintenance counts. Routine cleaning keeps everything moving smoothly. Find our advice on care in the DynaVap FAQ.
- Explore starter kits or a new part as you settle into your favorite routine.
DynaVap for Beginners: Frequently Asked Questions
- How long do I heat it? Generally, 6 to 10 seconds with a soft flame. Rotate consistently and stop as soon as you hear the click. Dive deeper in our post on DynaVap click timing.
- What if there’s not much vapor? This is typical in the beginning. Focus on taste - the clouds grow along with your technique.
- Which DynaVap model suits me best? Visit our Buyer’s Guide covering beginner, flavor chaser, or enthusiast setups.
- Can I jump straight to torch or induction heaters? Beginners almost always get the hang of things by starting with a soft flame. Upgrade to an induction heater as you get more comfortable with your DynaVap device.
- Is cleaning complicated? Not at all. DynaVap’s modular pieces make cleaning and regular upkeep simple. Check out our FAQ for details.
Ready to Make Smoking History?
Getting started with DynaVap for beginners is about more than a new device - it’s a shift in ritual, discovery, and control over your dry herb experience. The more you practice, the easier and richer your sessions will become. Curious to see what combinations fit best with your style? Browse our full product collection or join the DynaVap community for shared tips, building ideas, or general support from enthusiasts. Here’s to a smooth first session and making your own mark on smoking history!