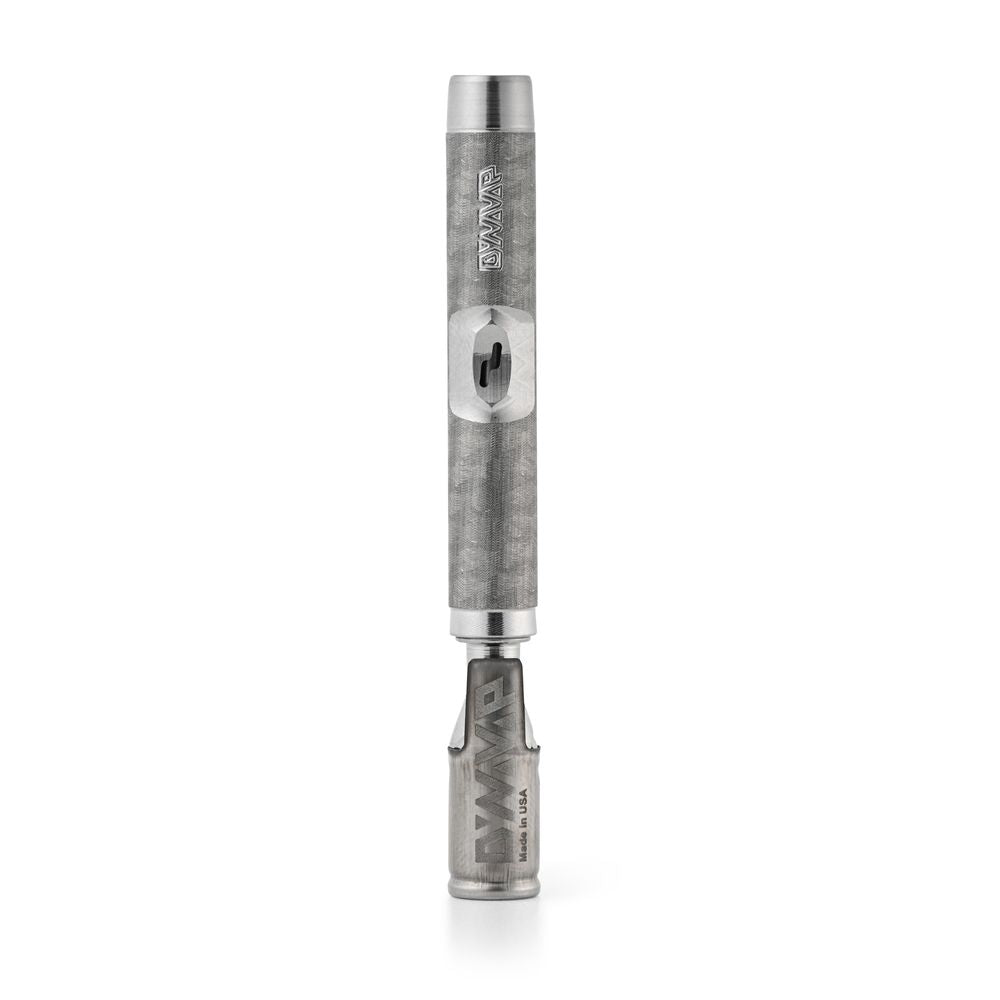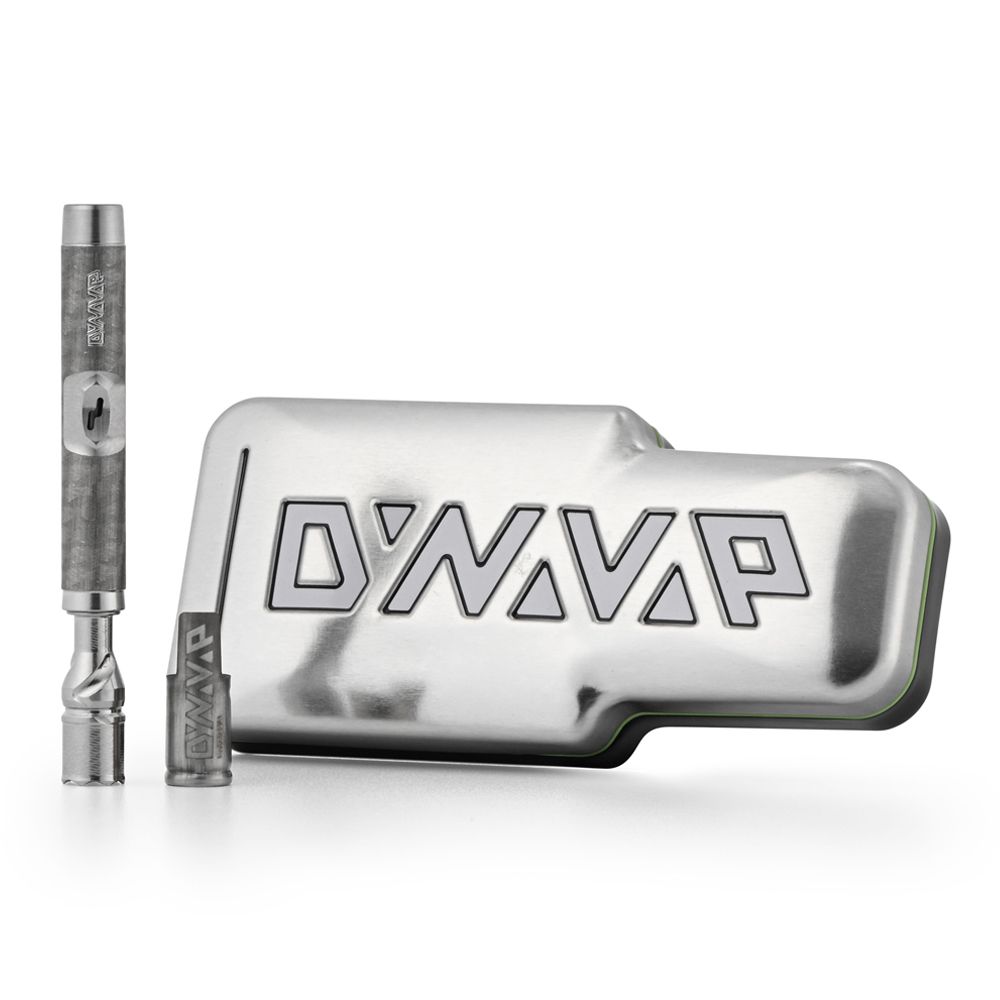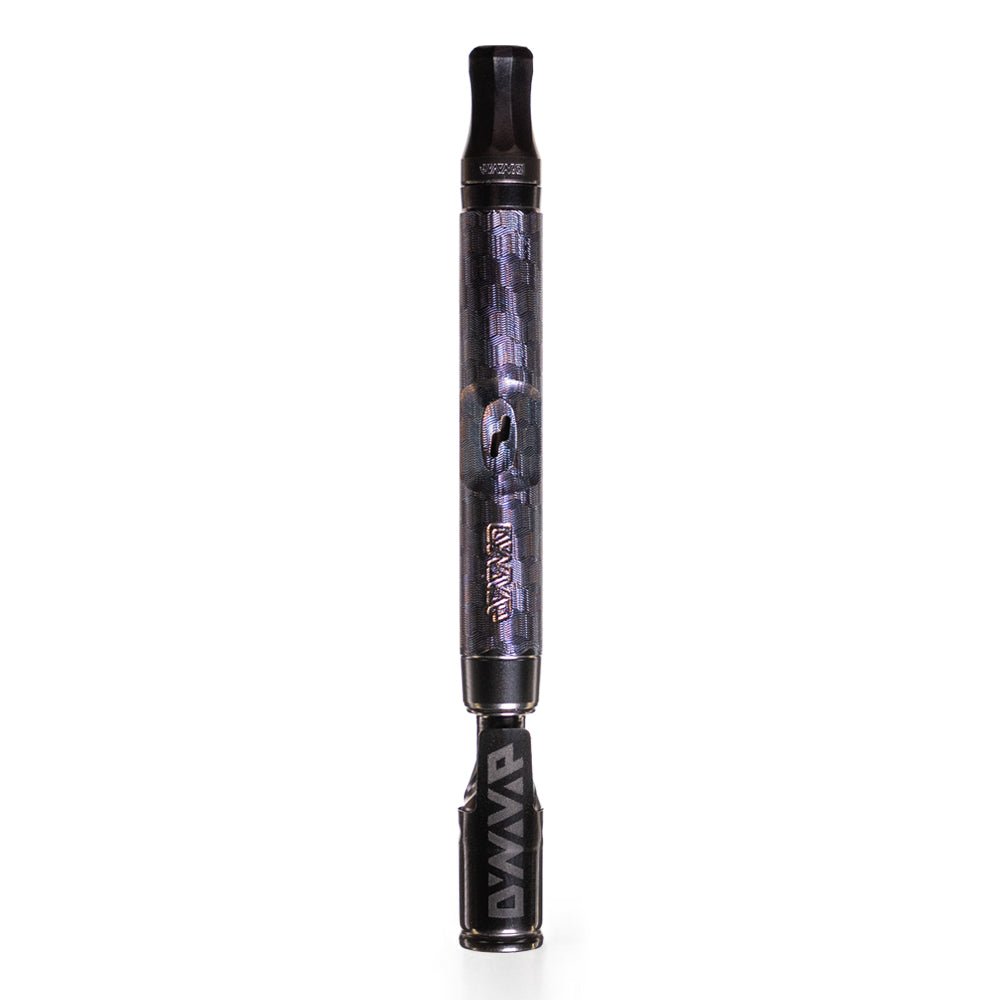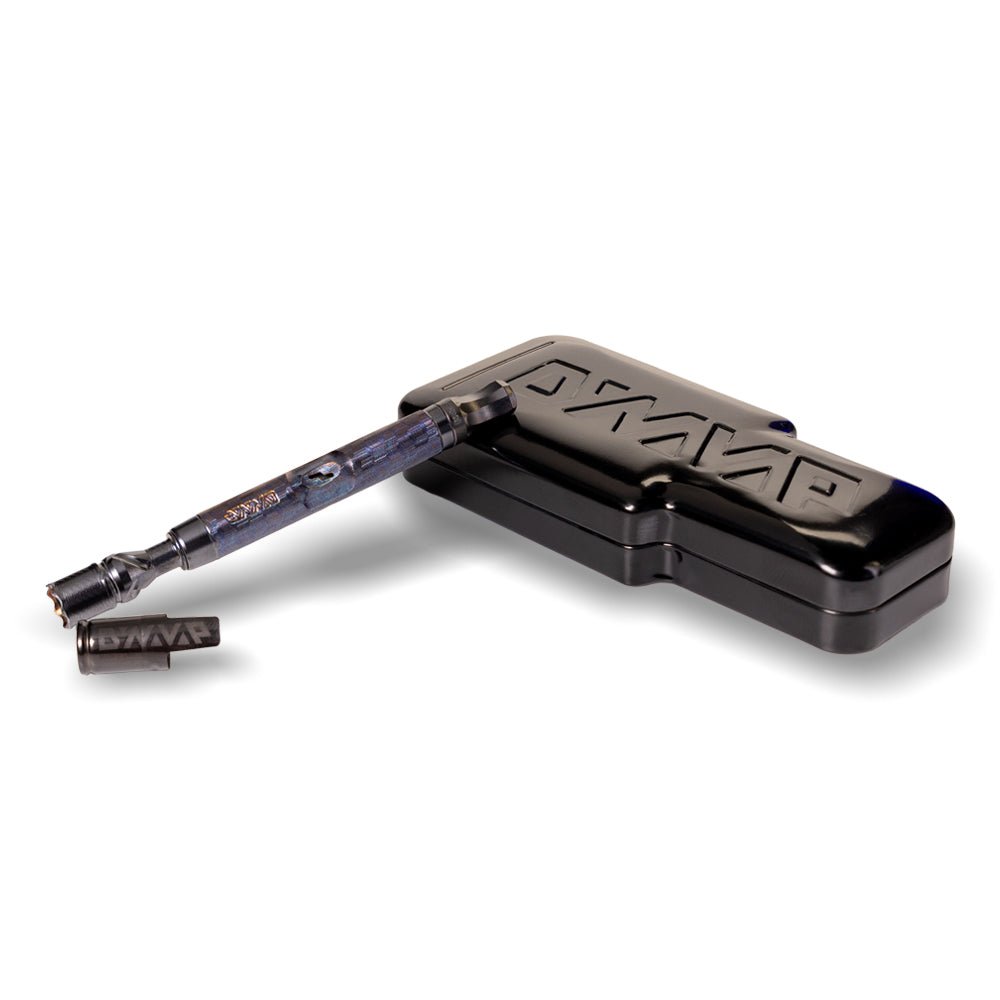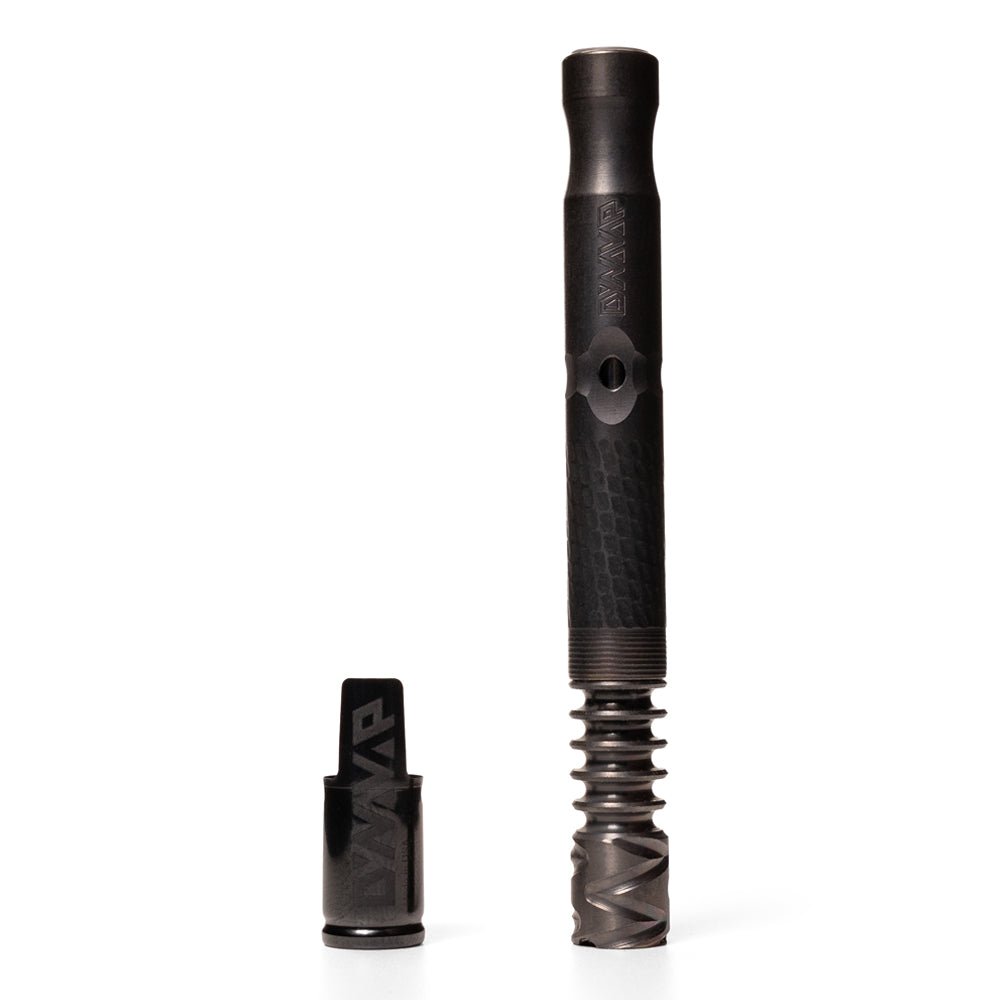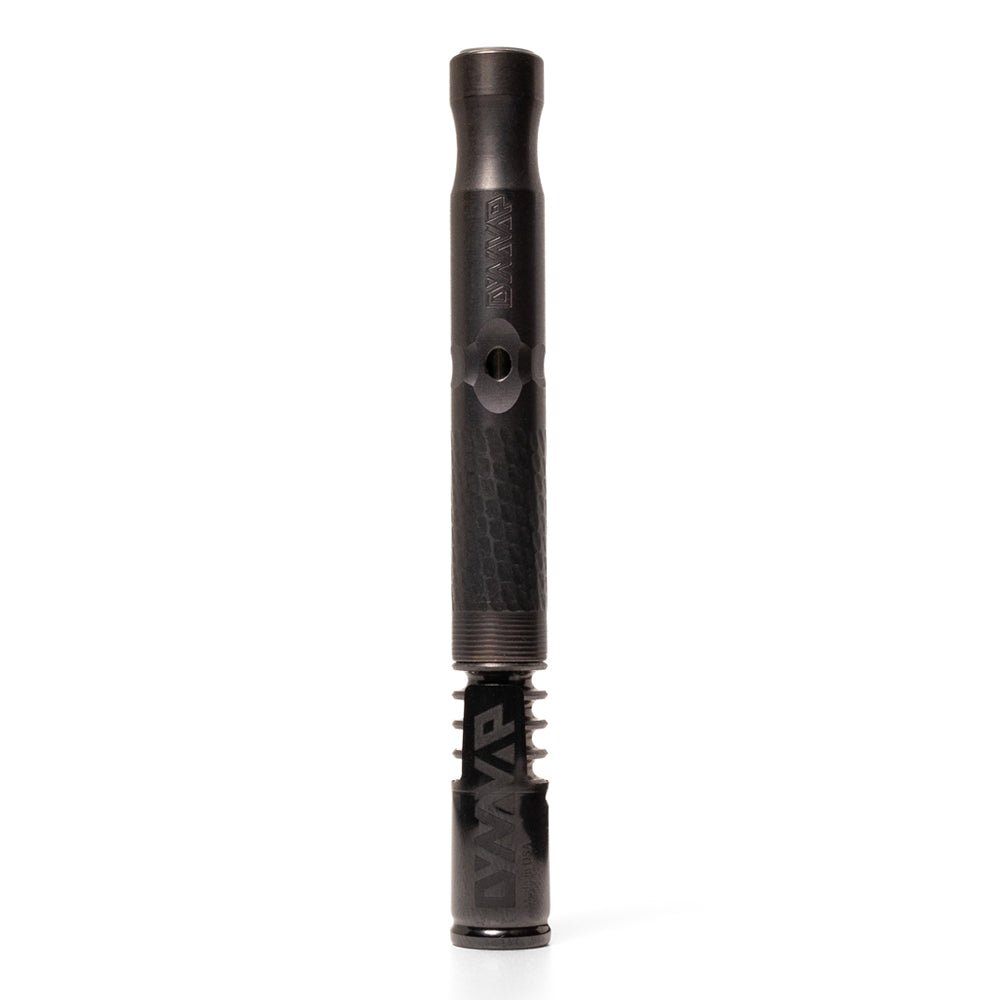


Clean DynaVap Cap habits start paying you back the moment your Heat Cycle feels consistent again. The Cap is the little piece doing the most work in your ritual: it clicks to tell you when you’ve hit the zone, and it clicks again when it’s ready for the next round. When resin and grime start creeping in, the click can get quieter, the fit can feel sticky, and your timing gets harder to trust. The fix is simple, and it does not require a soak.
We’ll walk you through the DynaVap-approved no-soak routine, plus a few gentle exterior cleanups that keep things looking sharp without messing with performance. If you want a quick refresher on heating technique and why timing matters, circle back to Respect the Click and building good heat habits.
Why Clean DynaVap Cap care plays by different rules
Most of your DynaVap is happy with a soak because the parts are open and easy to rinse and dry. The Cap is the exception. It has a closed, crimped end, and that design can hold onto liquid where you cannot see it. That’s not a big deal for a part that never gets heated. For the Cap, it matters because you bring a torch or an Induction Heater (IH) to it every session.
There’s also a very practical reason we’re firm about this: isopropyl alcohol is flammable. The NFPA flammable liquids safety guidance is a good reminder that vapors and ignition sources do not mix. So yes, this is partly about preserving the click, and it’s also about using common sense around heat and cleaning solvents.
Clean DynaVap Cap rule #1: skip the soak, every time
Let’s make it plain: do not soak or submerge the Cap. Not in ISO, not in water, not in an ultrasonic bath, and not “just for a minute.” The metal itself can handle plenty, but trapped liquid can linger near the internal click mechanism. If you heat the Cap before it has fully aired out, you are taking a risk you did not need to take.
This no-soak guidance is also called out in DynaVap’s official cleaning guide. You will find lots of forum chatter suggesting otherwise. Some people get away with soaking. We are not interested in “usually fine.” We are interested in repeatable habits that keep your gear working and your ritual predictable.
Clean DynaVap Cap safely with the 2-minute swab method
If you want the easiest routine to repeat on a random Tuesday night, this is it. You are basically doing a controlled wipe, not a bath. Think “detail work,” not “deep soak.”
- Let the Cap cool all the way down. Wait for the Cooldown Click, then give it another few minutes. Cleaning a warm Cap is a good way to rush and a bad way to handle solvents.
- Pull the Cap off gently. Slide it straight off the Tip. A tiny twist is fine if it feels snug, but keep it relaxed.
- Dampen a cotton swab. Use 90%+ isopropyl alcohol if you are cutting resin, or mild soapy water if you are just freshening up. The swab should be damp, not dripping.
- Swab the inner walls near the opening. Rotate the swab around the interior where reclaim tends to collect. Stay away from the closed, crimped end so you do not push liquid deeper inside.
- Wipe the outside. Finger oils plus torch soot can build up fast. A quick pass keeps the Cap feeling clean in-hand.
- Air-dry completely. Set the Cap down on a paper towel. Give it time until you are fully confident it is dry, inside and out.
Want a quick check before you load up herb again? Do an empty Heat Cycle in a quiet room. You are listening for a clear, normal click and making sure there is no lingering alcohol smell. The CDC NIOSH isopropyl alcohol information is a solid reference on why ventilation and evaporation matter when you use ISO for cleaning.
Clean DynaVap Cap drying: the part people rush (and regret)
Drying is not the glamorous step, but it’s the one that protects the click and keeps your next heat-up uneventful. If you used ISO, it flashes off quickly, but “quickly” is not the same as “instantly,” especially if you over-wet the swab. If you used water, it can hang around longer than you expect.
| What you used | How it should feel | What you do next |
|---|---|---|
| 90%+ ISO on a swab | Dry to the touch, no alcohol scent | Air-dry, then do one empty Heat Cycle check |
| Mild soapy water on a swab | Dry, no cool dampness at the opening | Air-dry longer, then heat only when fully dry |
If you ever catch yourself thinking, “It’s probably fine,” that’s your cue to wait another couple minutes. Your Cap will still be there.
Exterior touch-ups: keeping the patina, or polishing it back
Torch Heating naturally leaves heat color, dark marks, and a little character over time. That patina is normal and usually does not change performance. If you like the lived-in look, leave it alone. If you prefer a cleaner finish, keep it gentle.
- Use soft tools only: microfiber cloth or a soft toothbrush.
- Stay on the outside: do not scrub paste or cleaner toward the crimped end.
- Finish with a dry wipe: if you used any water, make sure you are fully dry before you heat again.
A simple option is a soft toothbrush with a tiny bit of mild soap, followed by a lightly damp cloth wipe and then a full dry. Some folks use toothpaste as a light polish for the exterior, but keep it conservative and avoid abrasives that can scratch. If you want a third-party overview of general VapCap upkeep, the Planet of the Vapes VapCap cleaning and maintenance guide is a helpful read.
What to avoid when you Clean DynaVap Cap parts
Most Cap issues we see are not “Cap problems.” They are cleaning shortcuts that sound harmless until they are not. Save yourself the headache and skip these.
- No soaking or submerging. This is the big one.
- No dishwasher. Heat, detergent, and water exposure are a rough combo for a part that needs to stay dry internally.
- No metal brushes or aggressive abrasives. You will scratch the exterior and it will never quite look the same.
- Do not pry or try to “fix” the click mechanism. The internal discs are not user-serviceable, and bending them is a fast way to ruin the behavior you rely on.
How often should you Clean DynaVap Cap?
You do not need to treat Cap cleaning like a weekly chore. For most people, a quick interior swab every few sessions is plenty. You will know it’s time when:
- the click sounds muted or delayed
- the Cap feels sticky going on or coming off
- you see visible residue near the Cap opening
If you pushed past the click and got a bit of combustion, do a more thorough cleanup across the whole device and reset your heat habits. Our How to Use a DynaVap guide is a great quick tune-up for heat placement and timing.
Troubleshooting after cleaning: click, fit, and feel
Once the Cap is clean and truly dry, the click should be crisp in normal conditions. If something feels off, it usually comes down to one of three things: leftover moisture, residue that did not lift, or debris on the Tip where the Cap seats.
- Click sounds faint: give it more air-dry time, then do a single empty Heat Cycle test in a quiet room.
- Cap feels tight: wipe the Cap entrance and the outside of the Tip where it mates up.
- Cap feels loose: remove oily residue from both contact surfaces and wipe them dry. You may also give it a gentle squeeze.
If you want to keep a spare on hand or refresh a well-loved setup, you can always grab replacements and upgrades from our Parts & Customization collection.
FAQ: Clean DynaVap Cap and protecting the click
Can you soak the Cap in isopropyl alcohol if you dry it afterward?
We do not recommend it. The Cap can hold liquid near the crimped end, and ISO is flammable. The swab method is quicker and better suited for the Cap.
What ISO percentage works best for Cap cleaning?
For resin, 90%+ ISO on a lightly damp swab cuts buildup well and evaporates faster. Use it sparingly and always let the Cap fully air-dry before heating.
How do you clean the inside of the Cap without harming the click?
Stay near the opening and swab the interior walls. Avoid pushing moisture toward the closed end, and do not insert tools that could snag or deform anything inside.
Why is my Cap click inconsistent after I cleaned it?
Most often, it just needs more drying time. If drying does not solve it, double-check your heating technique and make sure you are not routinely pushing past the click.
Is exterior discoloration a sign something is wrong?
Not usually. Heat color and darkening are normal with Torch Heating. Clean for function first, then decide if you want to polish for looks.
Conclusion
To Clean DynaVap Cap parts without messing with the click, keep it simple: no soaking, a quick swab, and patient air-drying before you bring the heat back. Do that, and your Heat Cycles stay predictable, your timing stays confident, and your DynaVap keeps feeling like the tool you bought it to be.