

Table of Contents
- Know Your Device: The Key Vaporizer Parts
- Your DynaVap Parts Checklist for Repairs
- Vaporizer Troubleshooting: A Symptom-to-Part Guide
- Sourcing Vaporizer Replacement Parts That Fit
- Your DynaVap Cleaning Guide for Long-Term Care
- Repair or Replace? A Decision Framework
- Conclusion: Keep Your Device Running
- Frequently Asked Questions
Last Updated: October 19, 2026
Know Your Device: The Key Vaporizer Parts
Understanding vaporizer parts and repair starts with knowing what sits inside your device. A DynaVap is built from a handful of simple components, and once you can name each one, most problems become easy to diagnose. At DynaVap, we designed these devices to be serviced rather than replaced, which is why spare parts are readily available.
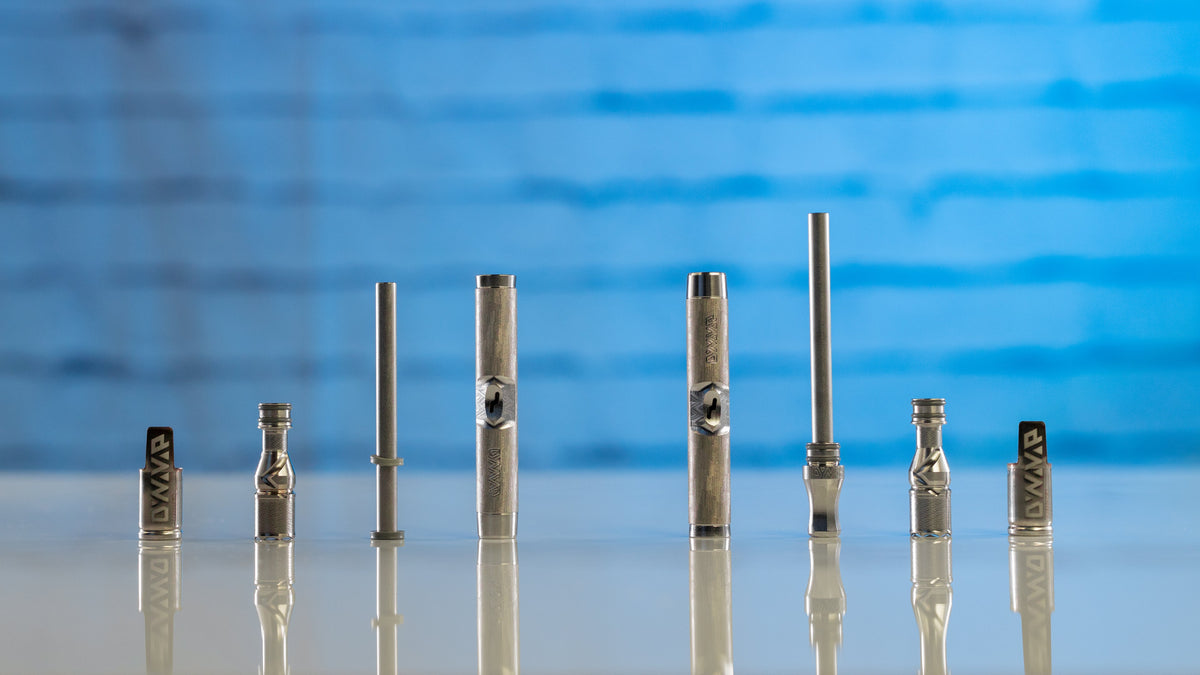
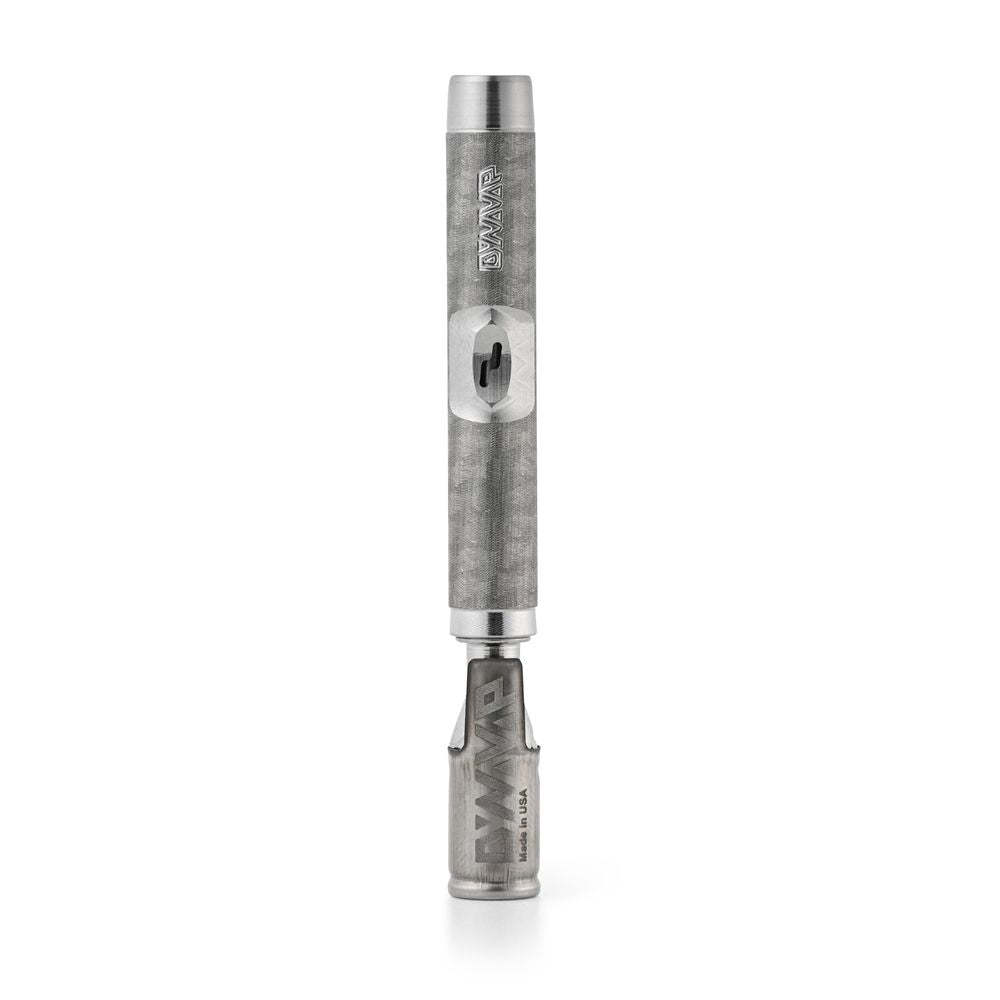
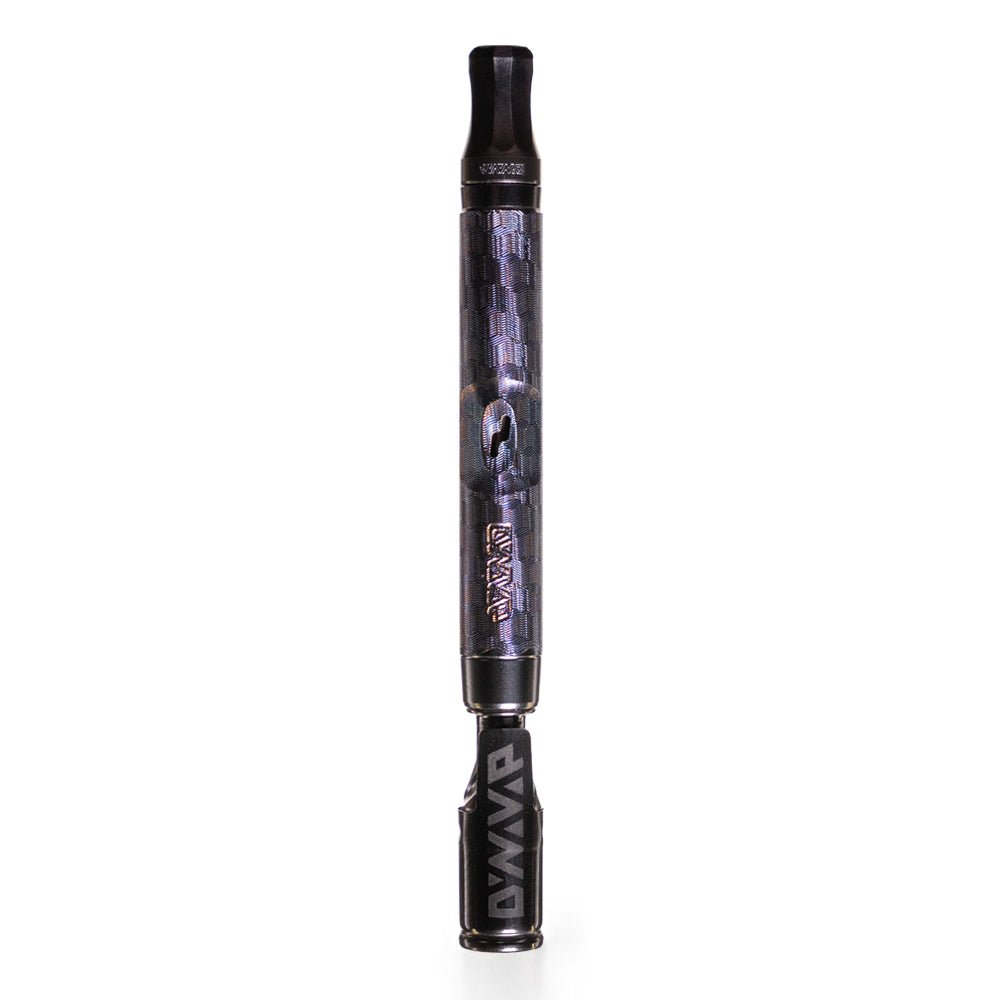
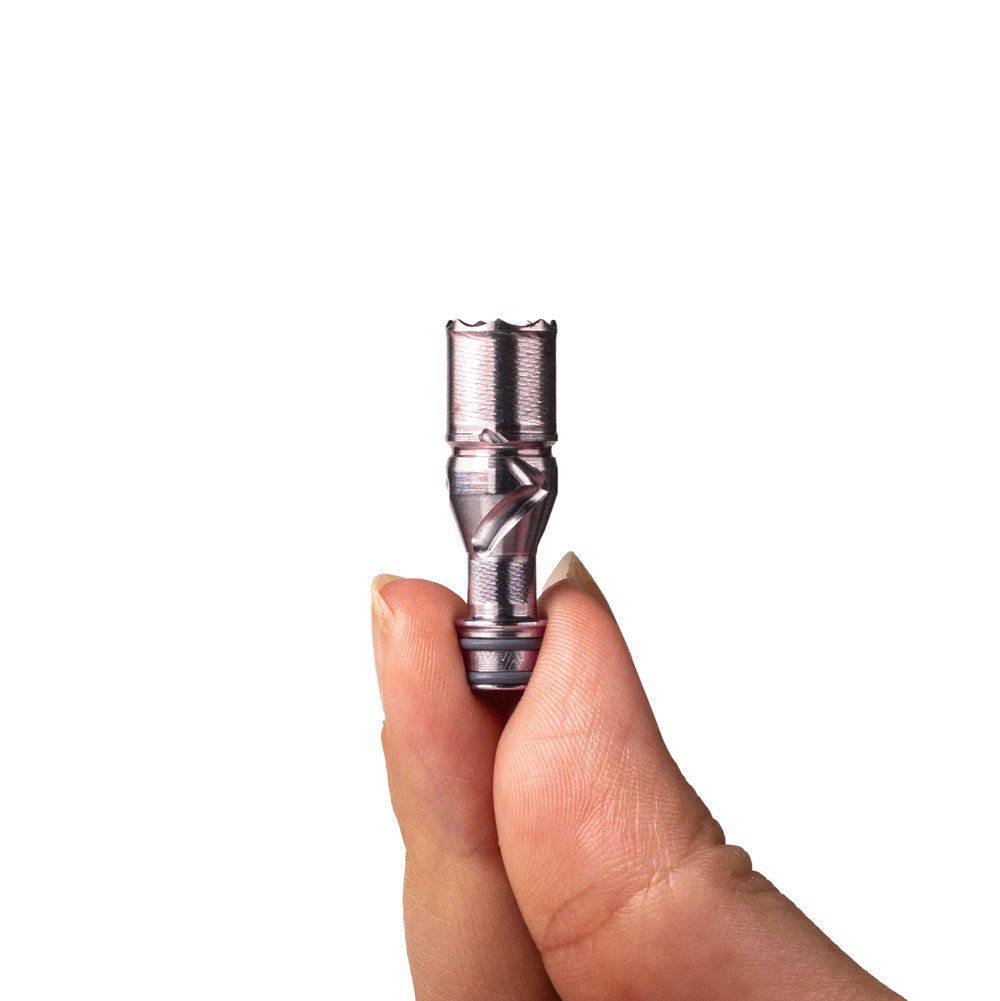
The core assembly breaks down into four pieces. The Cap is the stainless steel disc that clicks when your device reaches extraction temperature. The Tip holds your herb and connects to the Cap. The Condenser runs through the center and channels vapor toward your mouth. The Mouthpiece finishes the assembly and gives you a comfortable draw point. On most devices the standard Tip is a regular size, holding roughly 0.1g of herb.
The Cap, Tip, and Condenser
The Cap is what makes a DynaVap a vaporizer. It clicks one, with a second click possible during heat up and once during cool down, with a possible second click and that click is your signal to stop heating. If your Cap stops clicking, it has likely been overheated or damaged and needs replacement. The Tip connects to the body and holds the screen. The Condenser slides through the middle and is held in place by O-rings.
O-Rings and Screens
O-rings seal the connections between parts and keep airflow consistent. The high-temp O-rings sit on the Tip, while condenser O-rings seal the inner tube. Screens, which we call CCDs (Circumferential Compression Diffusers), filter fine particles without choking airflow. Both wear out over time, and both are cheap to replace.

Your DynaVap Parts Checklist for Repairs
Keeping a small stash of spares saves you a shipping wait later, but the smarter move is knowing which parts actually wear and when. Here is what we suggest every owner keeps on hand, plus the wear signs that tell you it is time to swap something.
- Replacement Screen: Stainless Steel CCD (3-Pack), swap when airflow stays restricted after cleaning or when herb pulls through
- High-Temp O-Ring Kit for the Tip, replace when the fit feels loose or the draw turns airy and whistling
- Condenser O-Ring Kit for the inner tube, replace when the mouthpiece spins freely or feels wobbly
- The Captive Cap as a backup, replace if it stops clicking or no longer seats snugly
- Cotton pipe cleaners for routine cleaning
A common pattern is that O-rings and screens fail long before the Tip or Cap do. The high-temp O-rings on the Tip take the most heat cycling, so inspect them every few weeks. The CCD screen is the next wear item, especially if you grind fine. The Cap is the longest-lived part on most devices, but it is also the one people overheat, so a spare is cheap insurance.
If you would rather buy everything at once, the DynaKit: Basic bundles screens, both O-ring sets, a Fat Mouthpiece, pipe cleaners, and storage tubes into one package. It is the simplest way to cover the most common failures without guessing which part will go first.

Vaporizer Troubleshooting: A Symptom-to-Part Guide
Vaporizer troubleshooting works best when you match the symptom to the part most likely causing it. Start with the simplest explanation before replacing anything.
Symptom |
Likely Cause |
First Fix |
|---|---|---|
Weak vapor, no click |
Cap damaged or overheated |
Replace Cap |
Airy, whistling draw |
Worn O-rings |
Swap high-temp O-rings |
Herb pulls through |
Screen missing or seated wrong |
Reseat or replace CCD |
Hard to draw |
Clogged condenser |
Clean with pipe cleaner |
Cap falls off |
Loose fit |
Gently squeeze the Cap |
Loose mouthpiece |
Stretched condenser O-ring |
Replace O-ring |
Work down the list before spending money. Most airflow complaints trace back to O-rings or a dirty condenser, not a failed Tip.
Sourcing Vaporizer Replacement Parts That Fit
Vaporizer replacement parts only work if they match your model and generation. Nearly all DynaVap parts are universal across every device, but there are a few exceptions so run a quick compatibility check before ordering. The Captive Cap fits any DynaVap Tip except the Hyper Tip. Before ordering any parts for your device, check to make sure that they are compatible with the device that you have.
Buy from the manufacturer when you can. Third-party sellers sometimes stock older generations that look identical but fit differently. Sourcing genuine parts also protects your device's longevity.
Know your repair boundaries. Some jobs are simple swaps; others should stop at the manufacturer. If a Cap is damaged, a screen is clogged, or an O-ring is stretched, that is normal DIY territory. But if you see a cracked Tip, or a device that will not seat together properly, stop and contact support rather than forcing a part. Never open or modify a Cap, and never soak it, a wipe down only. For heating, stick with torches and Induction Heaters, and note that induction heaters do use a battery, so treat any electrical fault as a stop-and-ask situation rather than a DIY fix.
DynaVap support and compatibility help
Your DynaVap Cleaning Guide for Long-Term Care
A steady cleaning routine prevents most repairs before they start. Our DynaVap cleaning guide comes down to a few habits: wipe the Cap, clear the condenser, and inspect the O-rings.
Never soak the Cap. Wipe it down only, since moisture and residue buildup inside the disc can affect the click. For the condenser, run a cotton pipe cleaner through it after a few sessions to keep the draw smooth. Remove the O-rings before cleaning the Tip, then reseat them once everything is dry. Check the CCD for clogging and swap it if airflow stays restricted. A clean device clicks reliably, tastes better, and lasts longer.
Repair or Replace? A Decision Framework
Most DynaVap issues are a parts problem, not a device problem. Use this framework before buying a whole new unit:
- If the Cap stopped clicking → replace the Cap. It is the wear item.
- If airflow is poor but the Cap clicks → clean the condenser, then replace O-rings.
- If herb pulls through → replace the CCD screen.
- If multiple parts fail at once → a kit like the DynaKit: Basic is the better buy.
Because our devices are built to last, replacing a single component almost always beats buying new. That is the whole point of a serviceable design.

Conclusion: Keep Your Device Running
A device that stops performing well is rarely broken beyond repair. The challenge is knowing which part to check first, and that comes down to understanding your Cap, Tip, condenser, and seals. DynaVap builds every device to be serviced with affordable parts, from the Captive Cap to the DynaKit: Basic, so you can fix a small issue instead of replacing the whole unit. Get started with DynaVap and keep your device clicking for years.
Frequently Asked Questions
How do you know when a vaporizer part needs replacing?
Look for visible wear like cracked O-rings, a clogged screen, or a cap that no longer clicks. Performance changes are also clues: weak airflow, uneven extraction, or difficulty keeping the cap on the tip. For DynaVap, the Captive Cap should click during heat up and during cool down; if it stops clicking, it's time for a new cap. Replacing small parts like O-rings and screens early prevents bigger issues.
Can you repair a vaporizer yourself?
Yes, for many mechanical issues. DynaVap devices are designed for simple user maintenance, like swapping O-rings, replacing screens, and cleaning the condenser. You don't need special tools beyond the basics. For more complex problems, check your warranty and contact the manufacturer. The key is using the right replacement vaporizer parts and following basic safety checks, like never soaking the cap in liquid.
What should you check if a vaporizer has poor airflow?
Start with the screen. A clogged CCD screen is the most common cause of restricted airflow. Remove it, clean it, or replace it. Next, check the condenser tube for buildup and clean it with a pipe cleaner. Also inspect the O-rings for damage that could block air. If you're using a DynaVap, make sure the cap is properly seated; the indentations on the Captive Cap help with even airflow.
How do you clean a DynaVap vaporizer?
Disassemble the device and wipe down the cap with a soft cloth; never soak it. Clean the tip, condenser, and screens with a pipe cleaner and a small amount of isopropyl alcohol, then let them dry completely. For O-rings, a quick wipe is usually enough. Regular cleaning, about once a week with heavy use, keeps airflow strong and flavor clean. This simple routine is the core of any DynaVap cleaning guide.
How do you find replacement parts that fit your vaporizer?
Always match parts to your specific model and generation. DynaVap parts are generally compatible across many devices, but there are exceptions: the Captive Cap fits all tips except the Hyper Tip, and screens come in different styles for different models. Check the manufacturer's specifications or product listings. Buying a kit like the DynaKit: Basic ensures you get the right O-rings, screens, and cleaners for most DynaVap devices.