

A modular DynaVap setup is how most people end up with a Thermal Extraction Device (TED) that actually fits their life, because you can start simple, learn your heat routine, and only change what you can feel. No “perfect build” pressure. Just a solid base, a little practice, and a few smart swaps when you know what you want more of.
Modular DynaVap setup basics: meet the parts you can swap
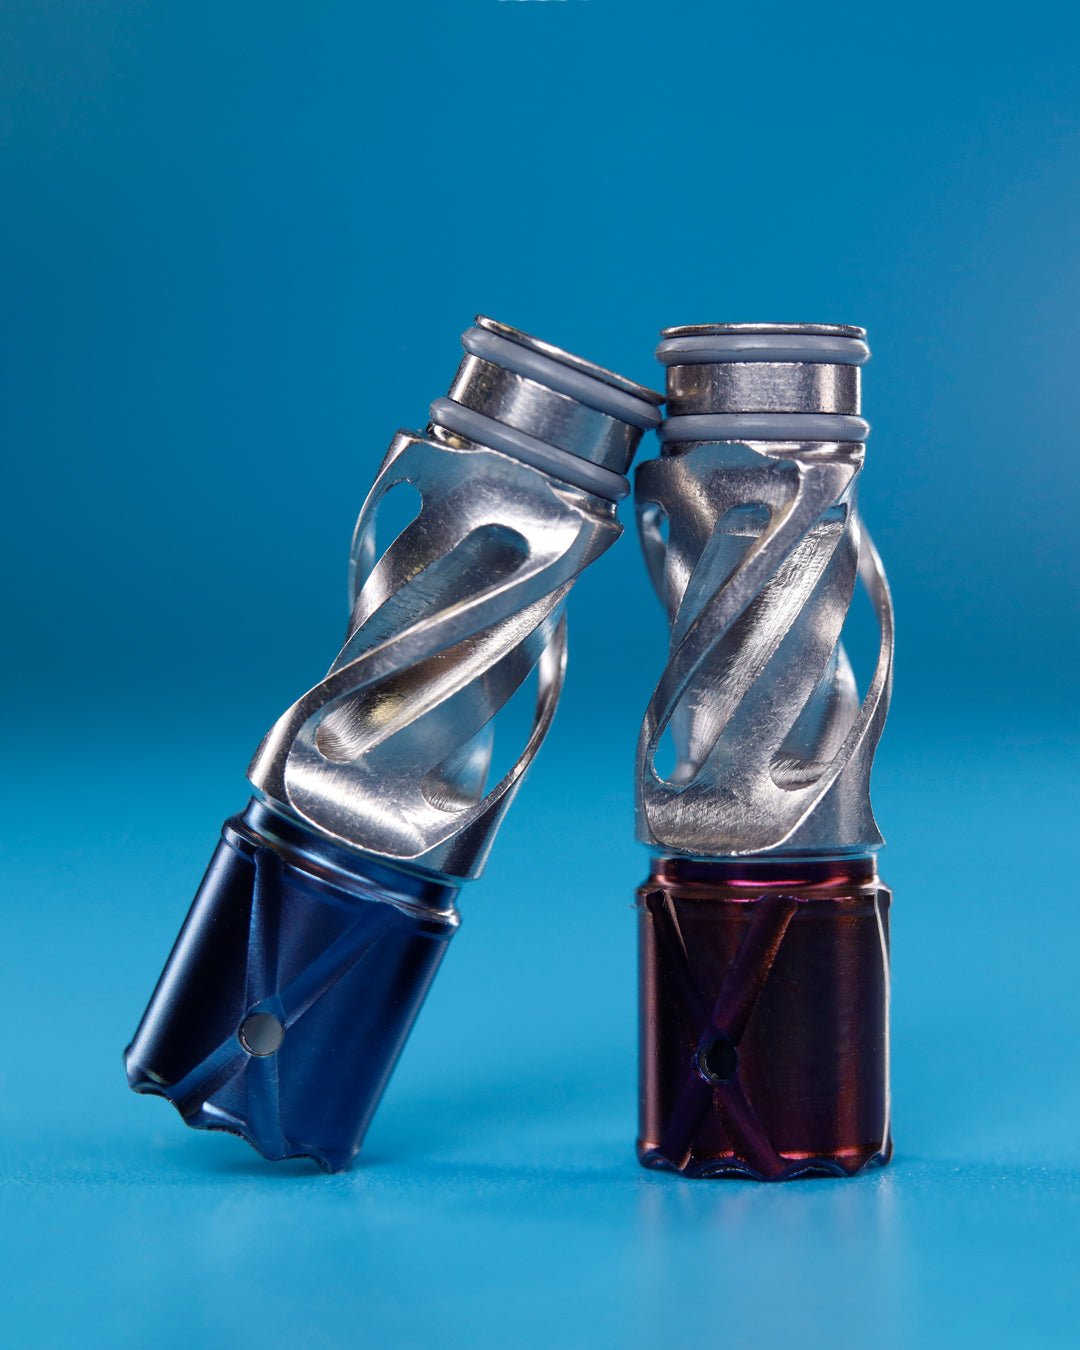
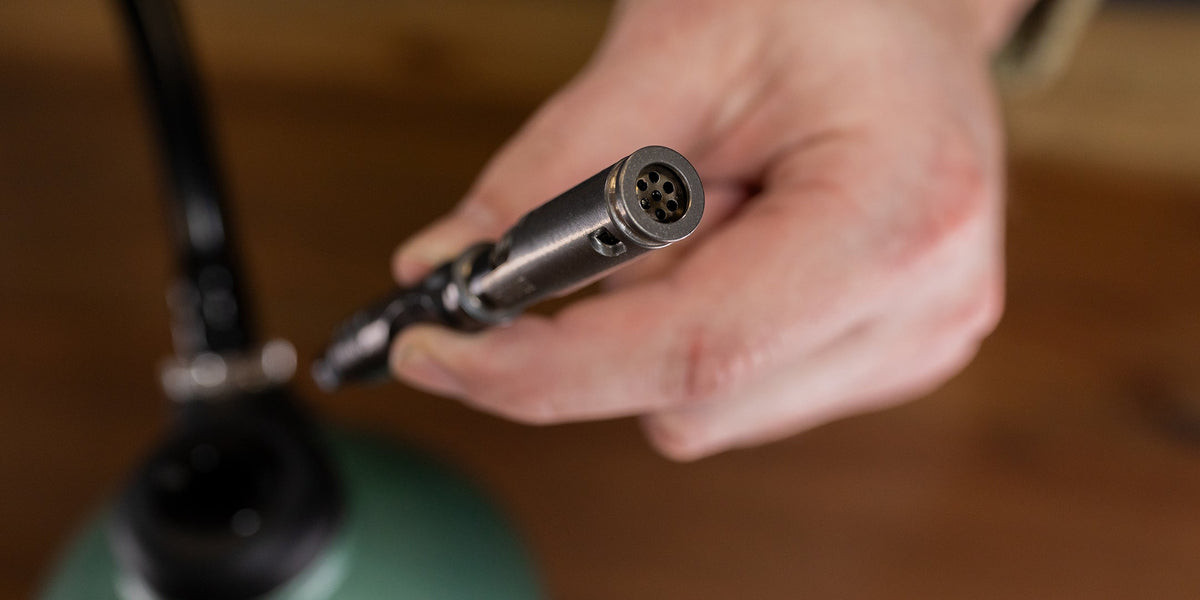
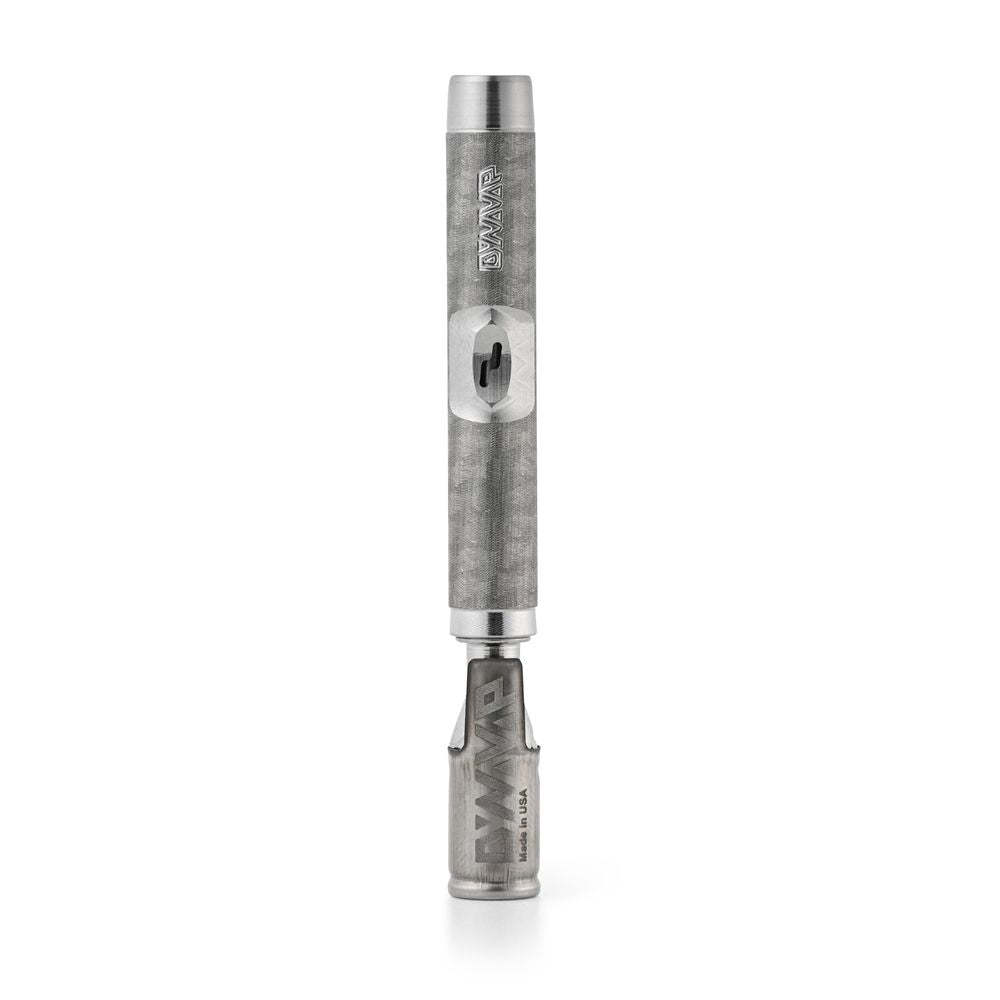
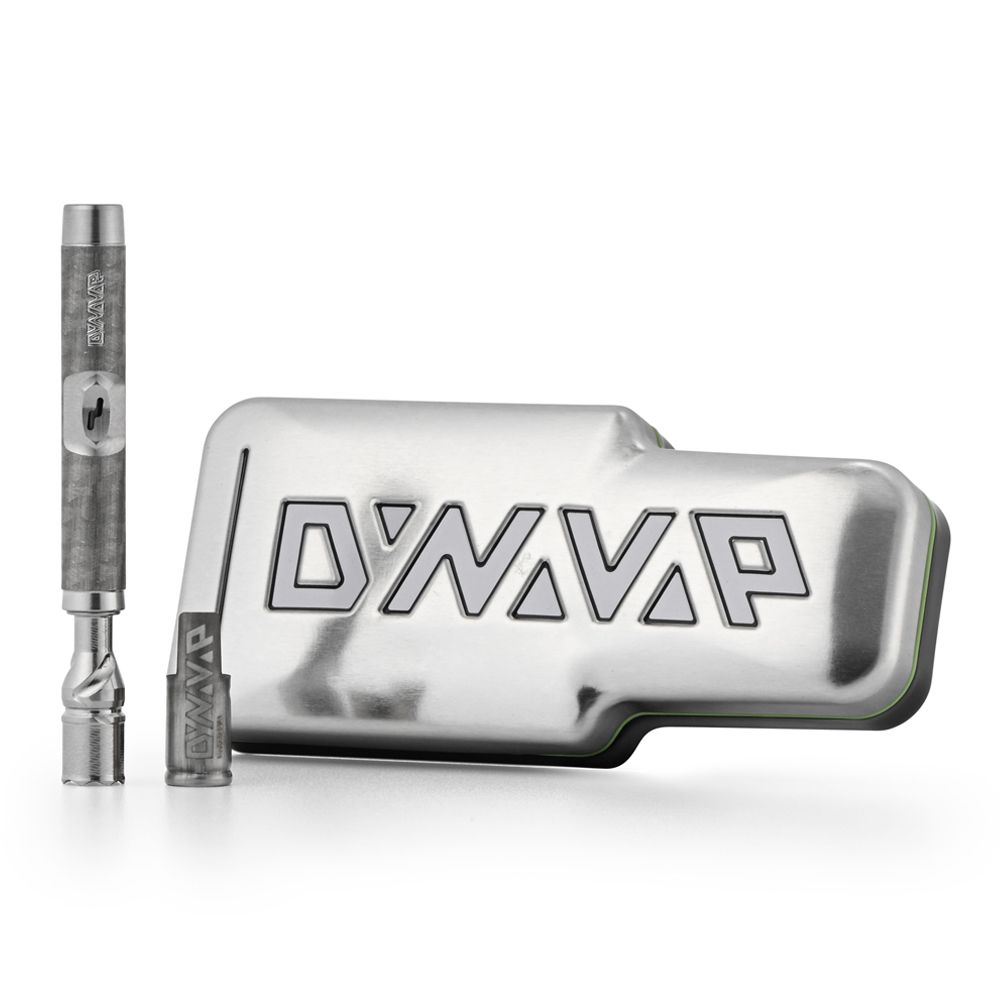
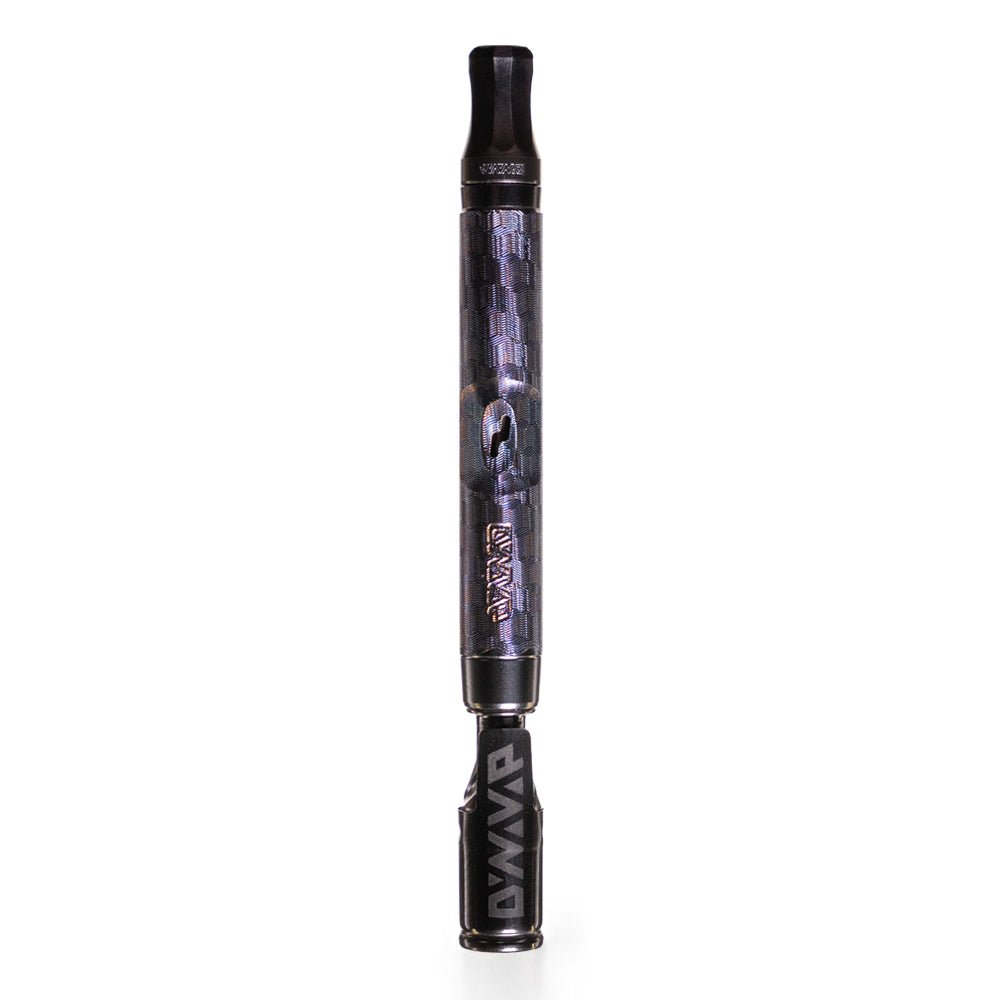
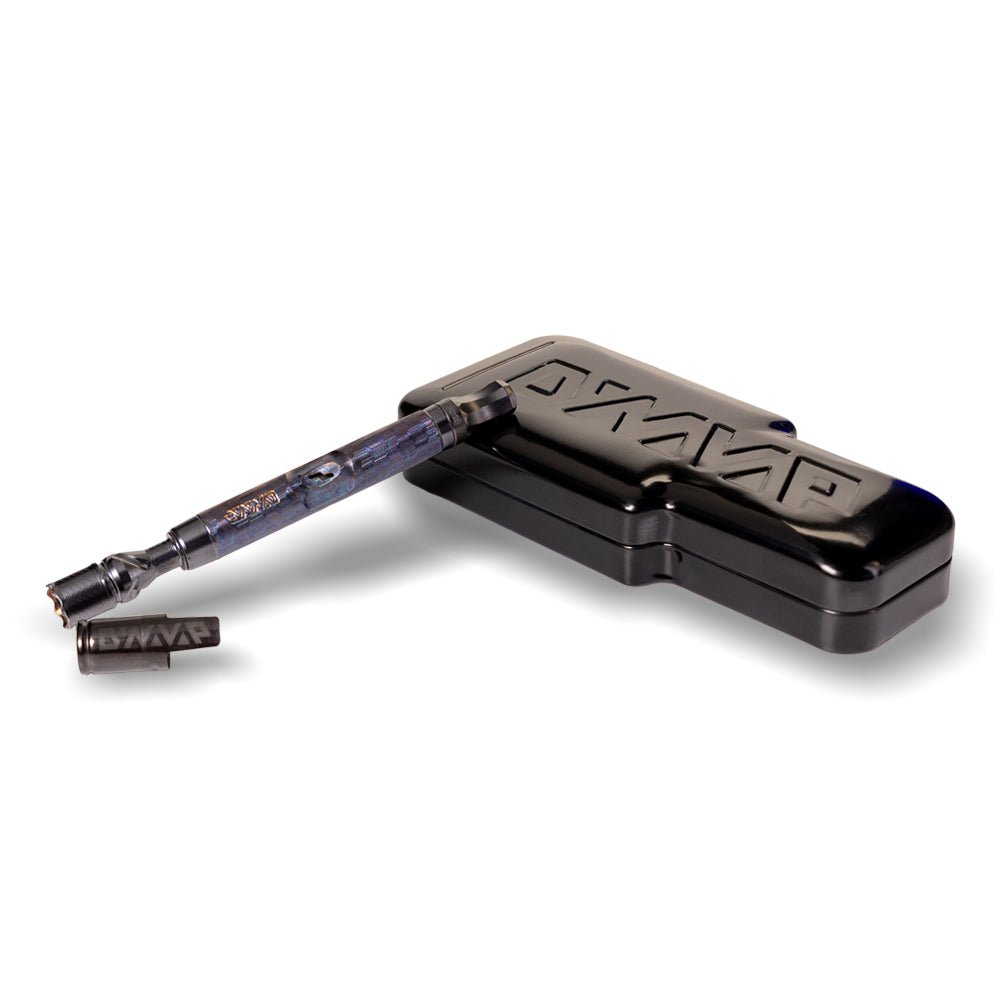
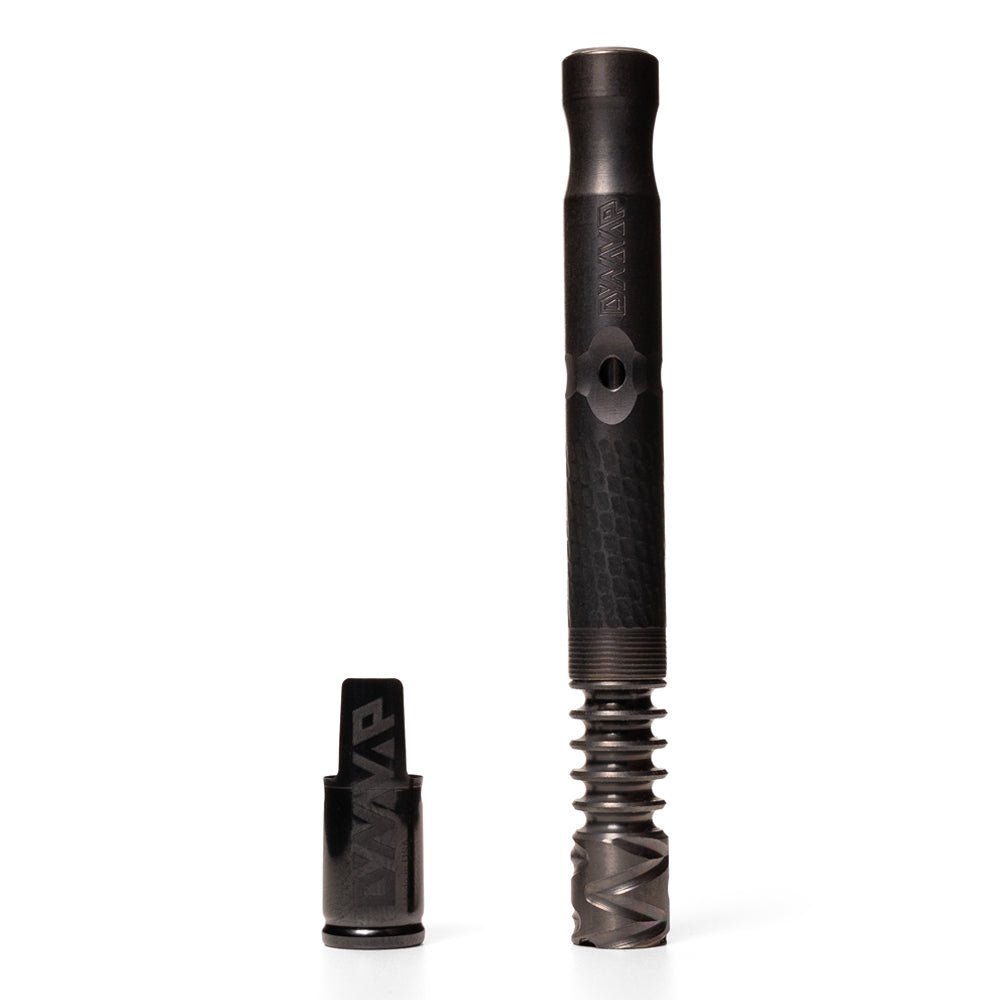
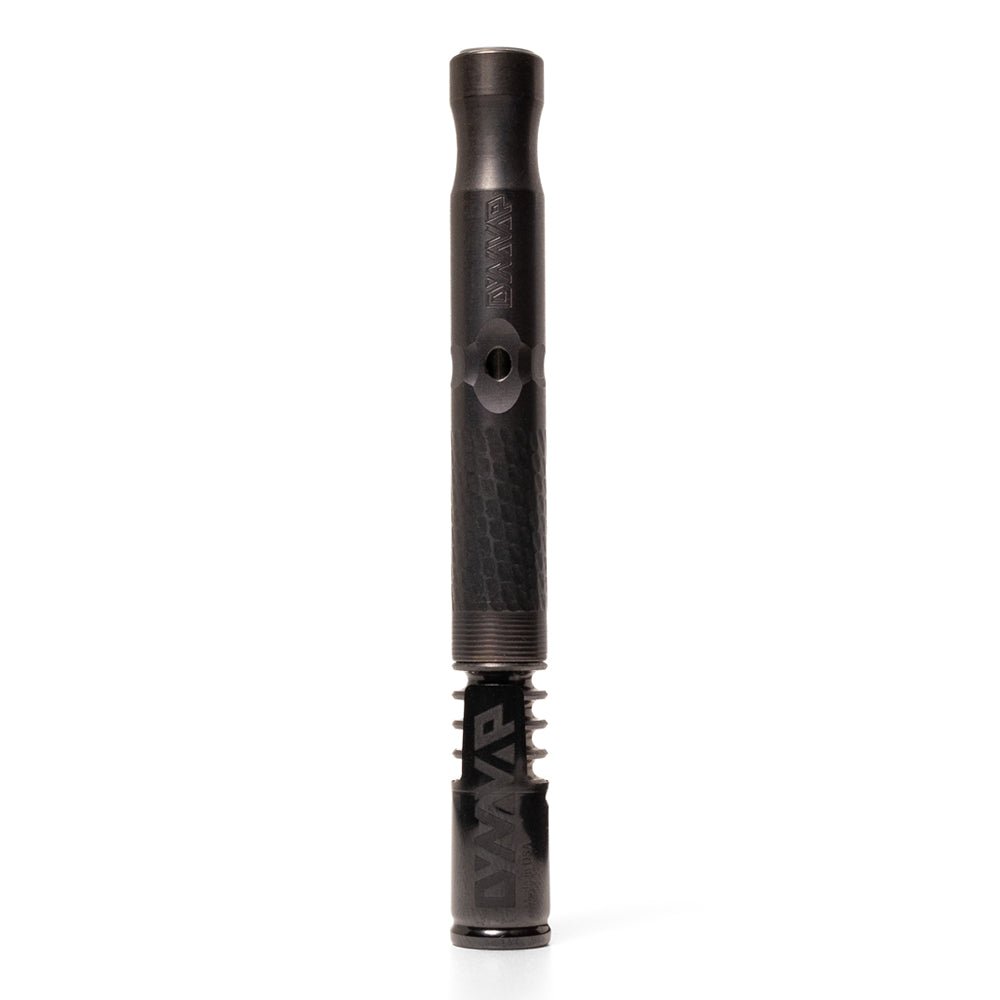
Before you start upgrading, it helps to know what you are actually holding. A VapCap is a stack of parts that play together: the Tip is your bowl, the Cap is the analog temperature indicator that clicks, the stem or midsection is the body you hold, and the Condenser is the internal vapor pathway that helps manage airflow and cooling.
If you like having a reference you can come back to later, our support doc on the anatomy of the DynaVap lays out the parts and how they fit together.
Modular DynaVap setup Phase 1: start with a complete base (and learn the ritual)
You can absolutely build a device piece-by-piece, but you will usually have a better time starting with a full setup first. That gives you a clean baseline, so when you upgrade later you will know what changed.
If you want an easy, durable daily driver that does not mind being tossed in a pocket, many people start with an M Line device like the M7. If you want the budget-friendly lane, the B Line gets you into the ritual without feeling precious about it. If you are more into refined materials and a warm in-hand feel, WoodWynd style builds tend to scratch that itch. And if you already know you prefer bigger sessions, the HyperDyn line leans in that direction.
- New to DynaVap and want a steady “first driver”: M Line models like the M7
- Keeping it simple and budget-friendly: B Line options
- More tactile, more “keepsake tool” energy: WoodWynd
- Bigger chamber and heavier extraction goals: HyperDyn
If you want help choosing your starting point without overthinking it, use the DynaVap Vaporizer Buyer’s Guide on Planet of the Vapes to match a device to how you actually session.
Modular DynaVap setup Phase 2: upgrade the Cap for a different heat feel
Once you have a handful of bowls under your belt, the Cap is often the first swap that feels immediately different. It is the part that gives you tactile temperature feedback. Heat to the click, stop at the click, and let the cooldown click tell you when you are ready to go again.
Different Caps change how heat behaves during a Heat Cycle. More thermal mass generally means more stored heat and a little more forgiveness when you are chasing fuller extraction. Lighter approaches can lean more flavor-forward and responsive, especially when your heat placement is gentle.
- If you want fuller extraction with less fuss: look toward higher-thermal-mass options like the BallR Cap
- If you are flavor-first: keep your heat a touch lower and stay disciplined with your timing and try the Low Temp Captive Cap
- If you want repeatable results: pick one heat position and make it boring on purpose
One honest tip from us: no Cap upgrade fixes sloppy timing. If you are still heating past the click, fix that habit first and every part you buy later will hit harder. Keep yourself dialed with Respect the Click: the DynaVap rule new owners need.
Phase 3: customize DynaVap comfort, cooling, and water tool fit with the stem and Condenser
This is the “make it yours” phase. The stem and Condenser change how the air flow is, how the draw feels, and how much cooling happens on the way to your lips. Sometimes the difference is obvious right away, like going longer for cooler vapor. Other times it is subtle, like a draw that feels smoother because the airflow matches your pace.
You will also notice the vibe shift with materials. Stainless steel feels sturdy and no-nonsense. Titanium can feel lighter and quick. Wood feels warm, and it changes the whole character of the tool.
- Want cooler vapor: go for more length or more cooling pathway
- Want max portability: keep the build standard and minimal
- Want water tool sessions: choose a body or taper that matches your glass instead of forcing a fit
When you are ready to browse parts like a menu, our Parts & Customization collection is where you can mix and match Caps, Tips, Condensers, mouthpieces, and the small maintenance pieces that keep everything sealing and sliding like it should.
Phase 4: upgrade the Tip to change weight and extraction style
The Tip is where the herb lives, so it is one of the most direct ways to change how a session feels. If you want bigger bowls, longer sessions, or fewer reloads, a larger-capacity Tip usually moves the needle more than a stem swap. If you are a small-load person, the Tip still matters, but your best control lever is often the Circumferential Compression Diffuser (CCD) position and consistent packing.
A Tip upgrade is also a sneaky way to get a “new device” feel without starting over. You keep your familiar grip and routine, swap the Tip, and suddenly the whole bowl behavior shifts.
Quick reality check: changing Tips and Caps can change how many Heat Cycles you usually run per bowl. If you want a simple way to sanity-check your expectations, use DynaVap Heat Cycles: how many per bowl is normal? to recalibrate before you decide an upgrade “didn’t work.”
Phase 5: go full modular and build a setup that looks like you
After you have a sense for what you care about, you can start building in a more intentional way. Some people chase ultra-compact pocket builds. Others build around water tools. Some are strictly flavor. None of those paths are “right,” and that is the fun part.
The trick is to change one major variable at a time. If you swap the Tip, Cap, and Condenser all at once, you might end up guessing why the click timing feels different or why the vapor changed. Modularity works best when you treat it like hands-on testing.
| What you want more of | Upgrade to consider first | Why it helps |
|---|---|---|
| Fuller extraction with fewer “perfect” heats | Cap | Changes heat retention and the feel of a Heat Cycle |
| Cooler, smoother draws | Stem and Condenser | Adds cooling distance and changes airflow character |
| Bigger loads or fewer reloads | Tip | Directly affects bowl size and extraction style |
| Water tool compatibility | Water-ready body, taper, or adapter | Gets you a clean fit without improvised workarounds |
How to upgrade without wasting money (and sidestep VAS)
Modular gear can make you want to tinker forever. We get it. The community even has a name for the itch: VAS, or VapCap Acquisition Syndrome. The practical fix is not willpower. It is clarity.
- If vapor feels harsh: look at heat placement, draw speed, and cooling before you chase a bigger bowl
- If you want denser extraction: a higher-thermal-mass Cap plus repeatable technique usually beats random part roulette
- If flavor seems muted: clean parts and a gentler heat can matter more than a new accessory
- If you are unsure: change one thing, use it for a week, then decide what is next
If you are ready to start a build or add the next piece, your simplest shopping path is Shop all DynaVap devices, parts, and accessories.
FAQ: modular DynaVap setup and upgrading over time
What does “modular DynaVap setup” mean in plain language?
It means your core parts, like the Tip, Cap, stem, Condenser, and mouthpiece, are designed to be interchangeable. You can mix and match as your preferences change instead of replacing a whole device. If you want the official breakdown, see DynaVap Vaporizers Guide 2025: all models explained.
What upgrade feels the most noticeable first?
For a lot of people, it is the Cap because it changes heat retention and how extraction develops during a Heat Cycle. Just keep your fundamentals tight and stop at the click. That is where consistency lives.
Should you upgrade the stem or the Tip first?
Go stem and Condenser first if your goal is comfort, cooling, or water tool compatibility. Go Tip first if you want to change bowl size, airflow character, or the overall extraction style without changing your grip.
How do you keep technique consistent while upgrading?
Respect the click, keep your heat placement consistent, and only change one major part at a time. Our post Respect the Click: the DynaVap rule new owners need is the best “back to basics” reset when things feel off.
How many Heat Cycles should you expect per bowl?
It depends on your grind, pack, heat source, and which Tip and Cap you are using. If you want a quick benchmark and a way to read what your bowl is telling you, use DynaVap Heat Cycles: how many per bowl is normal?.
Conclusion: build your modular DynaVap setup one smart upgrade at a time
Start with a complete device, learn the ritual, then upgrade in the order you will actually notice: Cap for heat behavior, stem and Condenser for comfort and cooling, Tip for bowl size and extraction style, and finally the creative custom mix-and-match that makes the tool feel personal. Go one change at a time, keep respecting the click, and you will end up with a TED that fits your budget and your preferences for the long haul.