

Table of Contents
- Quick Checks Before You Dig Deeper
- Why Induction Heater Connectivity Issues Happen
- How to Clean Induction Heater Sensor and Coil Contacts
- Induction Heater Battery Troubleshooting Basics
- Induction Heater Maintenance Tips That Prevent Connection Problems
- When to Reset and When to Replace Your Induction Heater
- Frequently Asked Questions
Last Updated: September 30, 2026
Quick Checks Before You Dig Deeper
Most induction heater connectivity problems trace back to one of three simple causes: a loose power connection, a dirty sensor contact, or a drained battery. Before you reach for a multimeter, run through these basic checks. They solve the majority of issues in under two minutes.

Here's what to check first:
- Confirm the device is fully plugged in or your batteries are charged
- Make sure the main power switch hasn't been bumped off
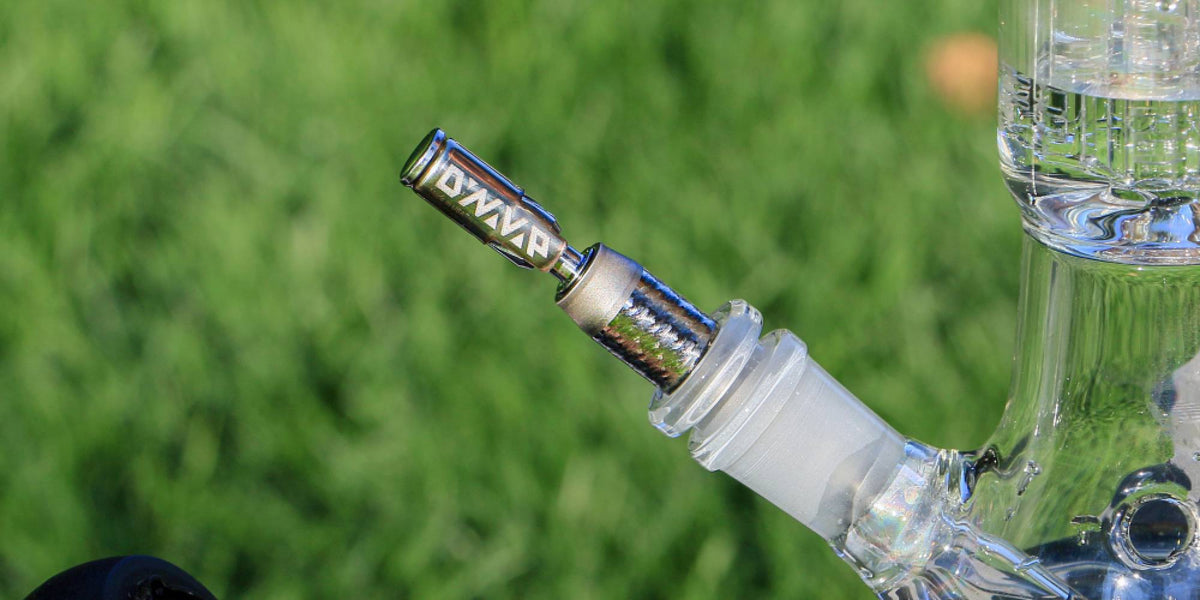
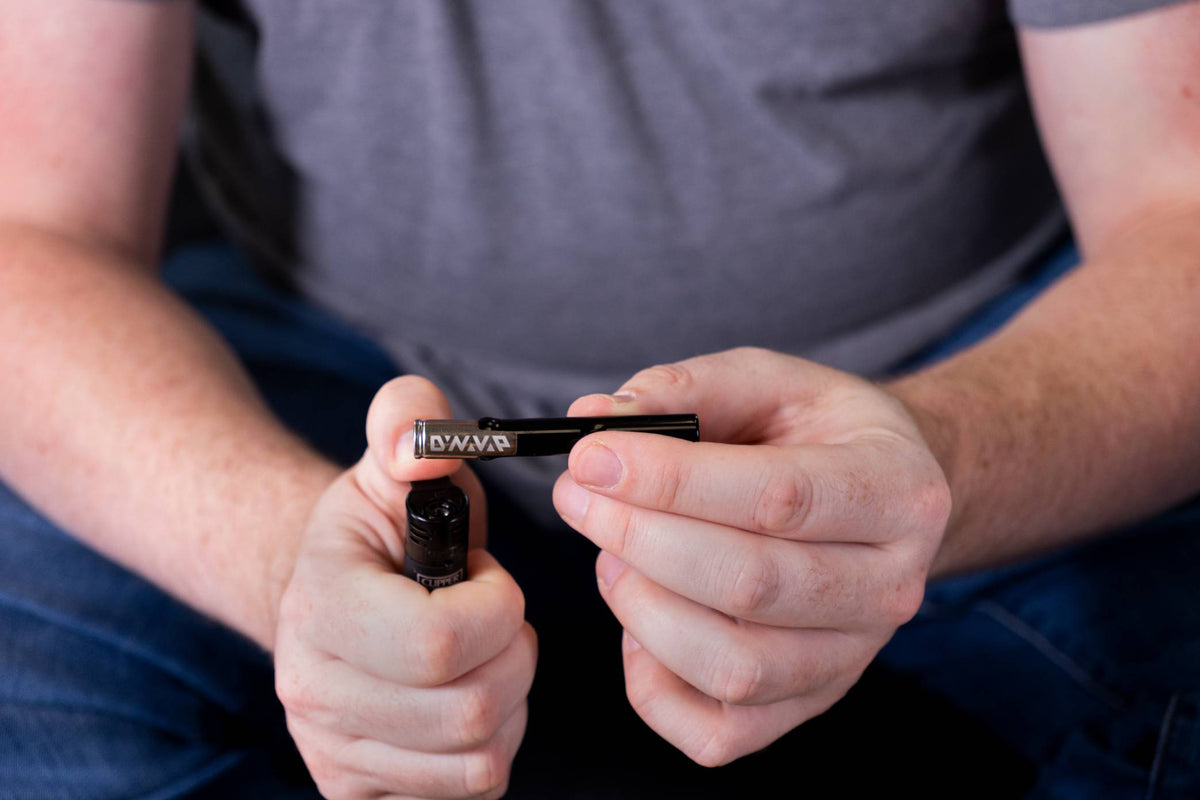
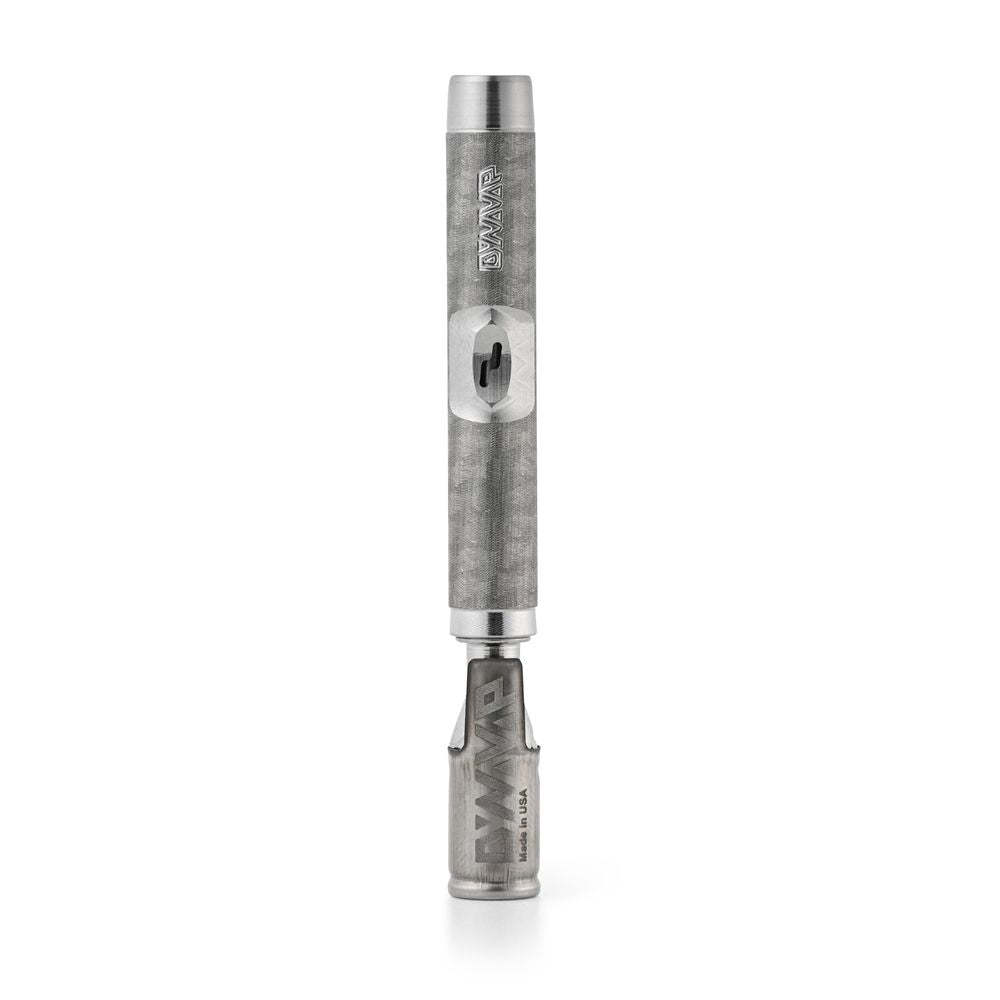
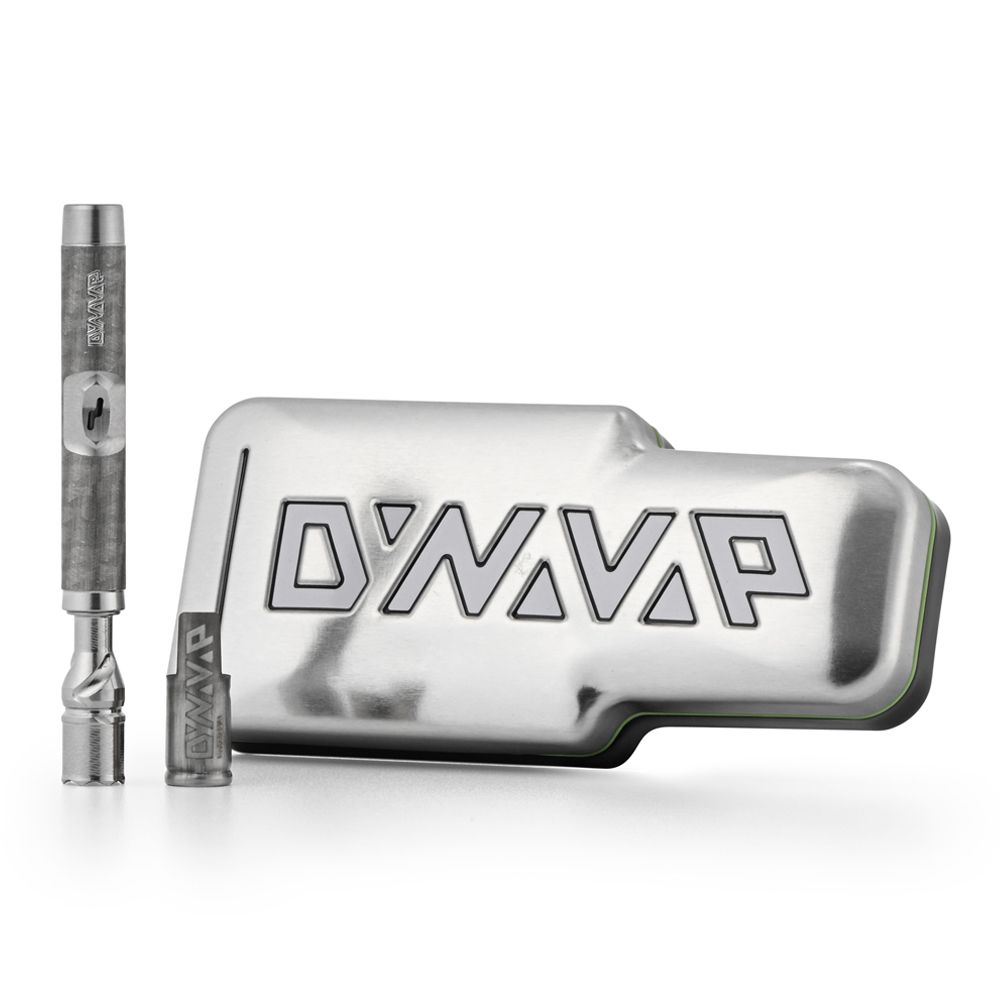
- Check that your DynaVap device sits properly in the heating chamber
- Look for any visible debris on the coil or sensor area
- Try a different outlet or charging cable if you're using wall power
If your induction heater still won't fire after these checks, keep reading. Below, we'll walk through deeper fixes, cleaning routines, and when it's time to reset or replace.
Why Induction Heater Connectivity Issues Happen
Induction heater connectivity issues happen when the electromagnetic coil can't transfer energy cleanly to your device. The coil needs a clear path to heat the target object, and anything that interrupts that path causes a weak or failed session.
Before you start chasing causes, it helps to know which kind of unit you actually own, because the failure points are completely different.
Consumer portable induction heaters (the battery-powered kind you use with a thermal extraction device) fail in a narrow set of places: the battery and its contacts, the chamber fit, the sensor window, the coil opening, and the control board. Almost every problem you'll encounter lives in one of those five spots.

Industrial induction heating equipment, the kind used for brazing, hardening, and melting in shops, fails in a totally different set of places: the power supply unit (PSU), the IGBT power modules, the work coil and its feed lines, the capacitor bank, the cooling loop, and the over-temperature thermostat.
The most common culprits on a portable unit:
- Dirty contacts on the coil or sensor
- A drained or aging battery, induction heaters do run on a battery, and a weak cell is the number one cause of drop-offs
- Improper device placement in the heating chamber
- Loose internal wiring from a drop or a hard knock
- Overheating that triggers a safety shutdown
- A control board glitch that a power cycle usually clears
How to Clean Induction Heater Sensor and Coil Contacts
Here's how to do it safely:
- Power off the heater and remove the batteries.
- Let the unit cool completely.
- Use a dry cotton swab or soft cloth to wipe the sensor area.
- Gently clear any debris from the coil opening.
- Never soak any component in liquid. A wipe-down only.
Induction Heater Battery Troubleshooting Basics
Induction heater battery troubleshooting starts with one question: is the battery actually holding a charge? Portable induction heaters run on batteries, so a weak cell is the number one cause of connectivity drop-offs.
Try these steps:
- Charge the unit fully and note how long it lasts
- Test with a known-good set of batteries if your model allows swaps
- Clean the battery contacts with a dry cloth
- Check the magnetic battery door for a snug fit
- Watch for a 60-second timeout, which can signal a safety cut-off
Induction Heater Maintenance Tips That Prevent Connection Problems
A simple maintenance schedule prevents most connection problems before they start. Regular care keeps the coil, sensor, and battery contacts in good shape for years.
Build these habits into your routine:
- Wipe the sensor and coil area every few sessions
- Inspect the battery contacts weekly for grime
- Store the unit in a dry place away from moisture
- Avoid dropping the heater, which can loosen internal wiring
- Replace batteries at the first sign of weak performance
When to Reset and When to Replace Your Induction Heater
Reset your induction heater when it freezes, throws a fault code, or stops responding to input. Replace it when the coil or control board has physically failed and resets no longer help.
Step 1: Try a full power cycle first
- Power the unit off completely.
- Remove the batteries for 30 seconds.
- Reinsert the batteries and power back on.
- Test with a known-good device in the chamber.
A power cycle clears most temporary glitches. If the unit still won't heat after a reset, and you've confirmed the batteries and contacts are good, move to the next step.
Step 2: Check voltage before you assume the worst
This is the step most guides skip, and it's the one that saves you from replacing a unit that's actually fine. A basic digital multimeter is enough, you don't need a lab-grade meter.
- Set the meter to DC voltage (the V with a straight line above it).
- Touch the red probe to the positive battery terminal and the black probe to the negative.
- A fully charged cell should read close to its rated voltage. If it reads well below that, the battery is the problem, not the heater.
- If your unit has a charging port, check the charger output too. A charger that's putting out less than it should will leave you with weak sessions no matter how long you leave it plugged in.
Testing voltage takes two minutes and rules both out.
Step 3: Read the fault code, don't ignore it
If your unit has a display or indicator light, treat it as a diagnostic tool rather than an annoyance. Common patterns on portable induction heaters:
- A short timeout after a few seconds of heating usually means the unit is protecting itself from overheating. Let it cool and try again.
- A blinking or solid error light with no heat often points to a battery or contact issue.
- A code that returns immediately after a reset is the clearest signal that something internal has failed.
Step 4: Inspect the coil and feed line
On a portable unit, the coil sits behind the chamber wall. Power the unit off, remove the batteries, and look for:
- Visible cracks or kinks in the coil
- Debris bridging the coil opening
- A loose or wobbly chamber that no longer holds your device snugly
Step 5: Decide, reset, repair, or replace
Here's a quick decision guide:
Symptom |
Likely Cause |
First Fix |
Replace If |
|---|---|---|---|
No power at all |
Dead battery or loose door |
Recharge, reseat batteries |
Contacts corroded |
Weak heating |
Dirty sensor or coil |
Wipe-down |
Coil damaged |
Cuts out early |
Timeout or overheating |
Let it cool, reset |
Repeats after reset |
Fault code on screen |
Control glitch |
Power cycle |
Code returns |
Won't detect device |
Poor chamber fit |
Reseat device |
Chamber cracked |
Battery drains fast |
Aging cell |
Test voltage, replace cell |
New cell also drains fast |
For most users, a reset or a fresh battery solves the problem. Replacement only makes sense when the hardware itself has failed, a cracked coil, a dead board, or contacts that are corroded beyond cleaning.
Frequently Asked Questions
What should I do if my induction heater light flashes but doesn't heat?
A flashing light usually means the heater is detecting something but not completing the connection. First, check that your device is seated properly in the heating chamber. If you use The Wand with the glass adaptor, make sure the adaptor is clean and the device sits fully inside. Next, inspect the coil area for debris or residue. If the light still flashes without heating, try a different battery set or power cycle the unit. Most connectivity issues come down to placement or a dirty sensor, not a dead heater.
Can a dirty sensor cause connectivity issues with an induction heater?
Yes. Residue on the glass tube or sensor window blocks the heater from detecting your device properly, which can stop it from activating. Cleaning the sensor is one of the simplest fixes. Use a cotton swab or soft cloth to wipe the glass and sensor area. Never soak the cap, and never pour liquid into the heater. A wipe-down only is enough. Do this every few sessions, especially if you notice inconsistent heating or a delayed response.
How do I know if my induction heater is detecting my device?
Most induction heaters give you a signal. The Wand and YLL 3.0 both show a light or display change when a device enters the heating zone. If nothing happens after a few seconds, the heater is not detecting the device. Try adjusting the depth of your device in the chamber. The YLL 3.0 has a depth-adjustable chamber. If the device sits too high or too low, the coil will not connect.
Is there a way to reset my induction heater if it stops responding?
Yes. A simple power cycle solves most unresponsive heaters. Turn the unit off, remove the batteries if they are user-replaceable, wait about 30 seconds, then reinsert and power on. The YLL 3.0 also has a 60-second timeout that shuts the heater down if it runs too long, so let it cool before trying again. If a reset does not work, check the battery contacts and the coil area for residue before assuming the heater needs replacement.