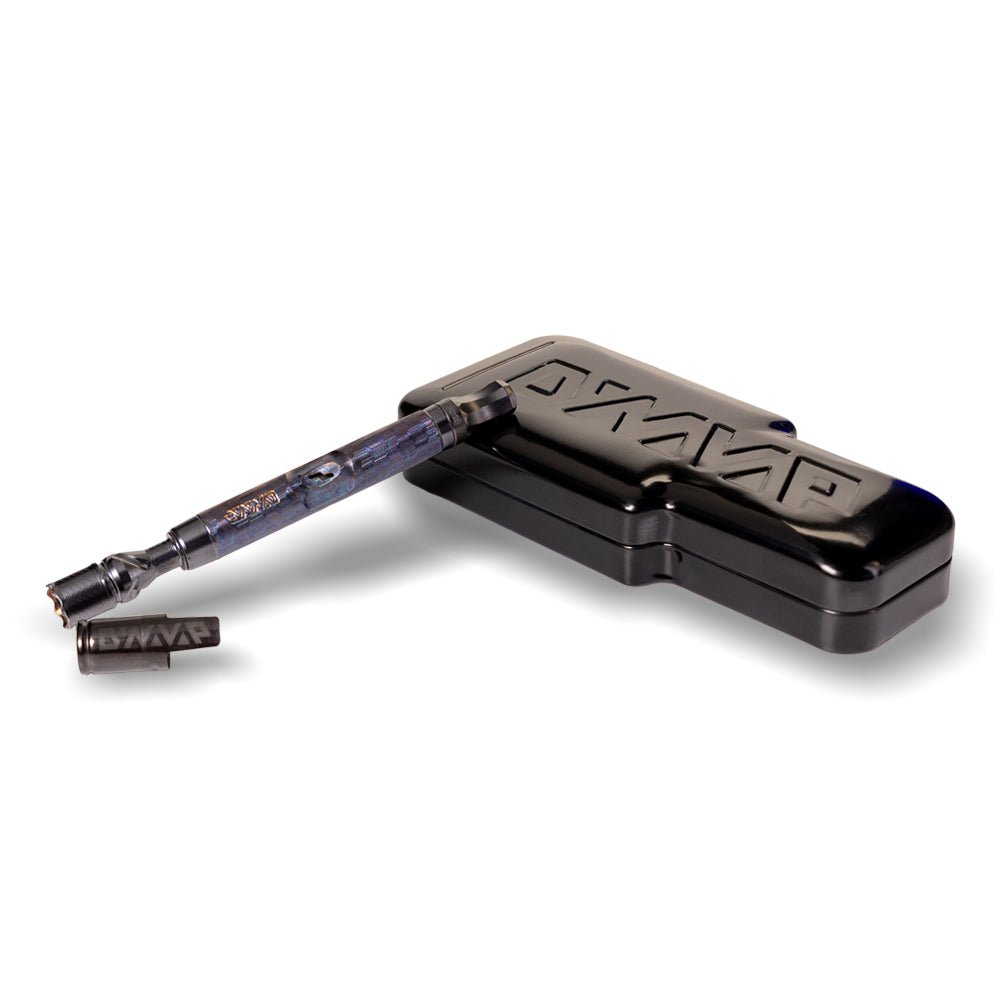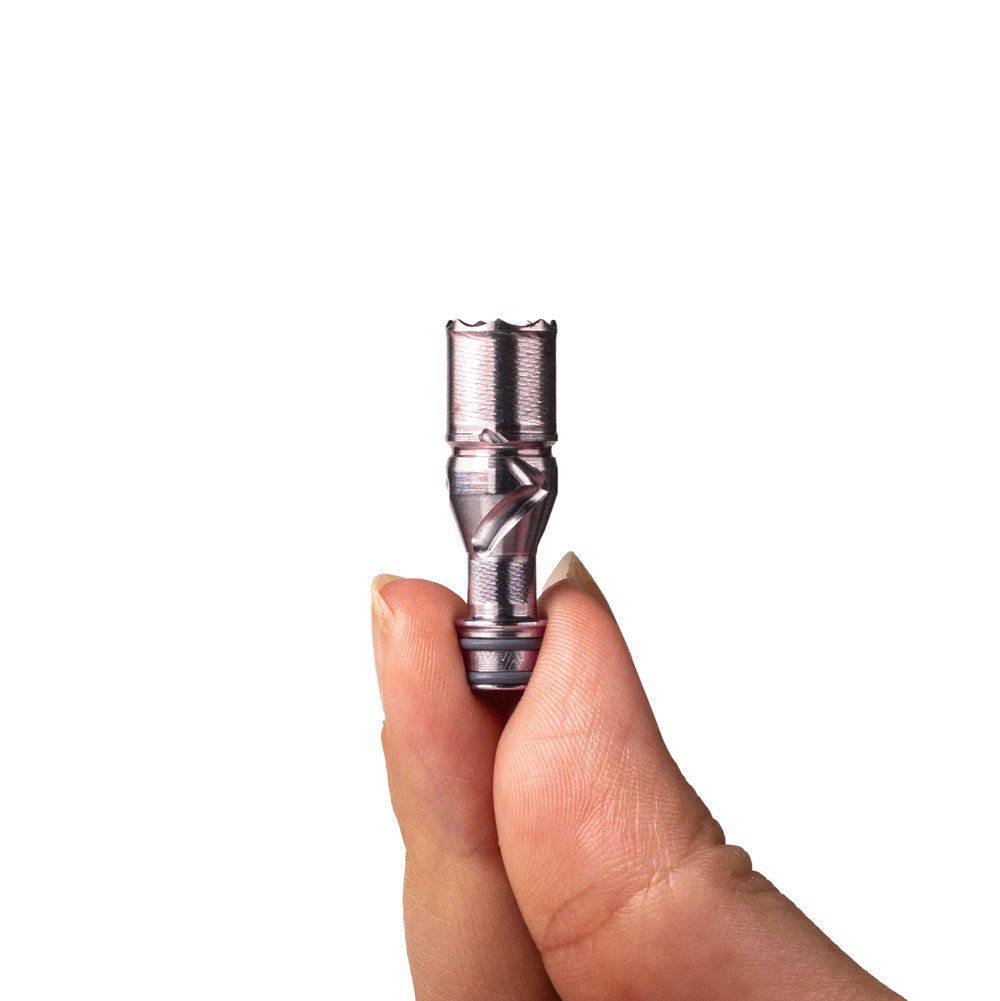


Quick Summary
Consistent vapor comes from repeating the same few habits every session. Pack the chamber evenly without pressing hard, heat the cap until the first click, take short steady draws, and keep the screen and condenser clean.
- Pack loosely and evenly, using a fluffy grind rather than chunky pieces.
- Heat the cap evenly with a torch and stop when the first click sounds.
- Take short, steady puffs instead of one long, hard pull.
- Check the screen and condenser between sessions and clear any buildup.
- Adjust airflow with the rocker on models like the M 7 before changing your technique.
Table of Contents
- Why Battery-Free Vapor Varies From Session to Session
- 1. How to Pack a Dry Herb Vaporizer for Even Airflow
- 2. Torch Technique for DynaVap Heating
- 3. Choosing Between a Torch and an Induction Heater
- 4. Matching Your Draw to the Device
- 5. Keeping Airflow Clear and Reducing Residue
- 6. DynaVap Cleaning Tips That Protect Consistency
- 7. Troubleshooting Weak Vapor Step by Step
- Frequently Asked Questions
Why Battery-Free Vapor Varies From Session to Session
Battery-free vapor depends on heat, packing, and airflow working together, and small changes in any one of them show up in every hit. A battery device holds a set temperature for you. With a manual device, you control the heat yourself, so the same tip can produce thick vapor one session and thin vapor the next.
Here's the thing most people miss: the device rarely changes. The routine does. A slightly different amount of herb, a torch held a second longer, or a cap that still has residue from last time can each shift the result.
Once you understand those variables, consistency becomes a matter of repeating a few habits. The seven tips below cover the habits that matter most with a DynaVap.
1. How to Pack a Dry Herb Vaporizer for Even Airflow
Packing is where most inconsistent sessions start. Fill the tip chamber evenly and avoid pressing the material down hard. Loose, even packing lets air move through the chamber, which helps the heat reach the whole load.
Use a grinder for a fluffy, uniform texture rather than chunky pieces. A DynaGrynd, which is included in the M 7 Starter Pack and the B2 Starter Pack, is designed for the fluffy, even texture DynaVap devices work best with.
Watch out: packing too tightly is the most common cause of a weak hit. If you have to push to close the cap, the load is too dense.
2. Torch Technique for DynaVap Heating
Heat the cap evenly and keep the torch moving. Hold the flame at the cap rather than the tip, and rotate the device so the heat spreads around the chamber instead of scorching one side.
The cap clicks when it reaches the right temperature. There is one click, with a second possible, on heat-up and one click on cool-down, a second one is possible, so you know when to stop heating and start drawing.
For a step-by-step walkthrough, see our guide on how to use a DynaVap step by step. It covers the whole sequence from loading to the cool-down click.
3. Choosing Between a Torch and an Induction Heater
Both heat sources work well with a DynaVap, and the right one depends on how you like to session. A torch gives you direct control and needs no electricity. An induction heater is more hands-off, though it does use a battery, so it isn't the choice if you want a fully battery-free setup.
If you go with a torch, a clean, reliable lighter makes a real difference. Our best torch lighter for DynaVap roundup covers the options worth considering. The Page Flat Flame and the DynaTorch Single Flame are both built for heating a DynaVap.
4. Matching Your Draw to the Device
Your draw should match the device you're using. Short, steady puffs are a good way to keep your hits even.
Adjust your airflow with the rocker on models that have it. The M 7 and M 7 XL offer airflow control, so you can change how much air moves through the chamber to suit your draw. If your hits feel too thin or too harsh, try adjusting airflow before changing anything else.
5. Keeping Airflow Clear and Reducing Residue
Residue builds up in the screen and condenser over time. Check the screen between sessions and clear any buildup you see.
Avoid letting residue sit for long stretches. The longer it stays, the harder it is to remove, and the more it affects your draw.
Residue and a clogged screen can quietly weaken every hit, so here is how the main cleaning parts compare at a glance.
Part |
How to clean |
How often |
|---|---|---|
Screen |
Pop out, hold to light, brush if clogged |
Every few sessions |
Condenser |
Look through it, clear visible film |
Every few sessions |
Cap |
Wipe down only, never soak |
As residue appears |
Tip |
Clear residue to keep airflow open |
When draws feel tight |
6. DynaVap Cleaning Tips That Protect Consistency
Residue builds up in the screen, condenser, and tip over time, so it's worth checking these parts regularly.
Start with the screen. Pop it out and hold it up to the light, and give it a quick brush if it looks clogged. Check the condenser by looking through it and clear any visible film.
The cap is different. Never soak the cap. Wipe the cap down with a cloth or cleaning wipe only. Our guide on safe steps to clean the DynaVap cap walks through this without risking the click.
For routine maintenance, the Pink Slip Cleaning Tab is included with the starter packs. For a full walkthrough of the parts and the order to clean them, see our guide on how to clean a DynaVap. If you're cleaning metal parts more broadly, our metal vaporizer cleaning guide covers the same principles.
A clean device also makes troubleshooting easier.
7. Troubleshooting Weak Vapor Step by Step
Most weak-vapor guides tell you to check everything at once. A better approach is a fixed order that isolates one variable at a time, so you know what actually fixed the hit. Work through these steps in sequence and stop as soon as vapor returns to normal.
- Confirm your device type. Battery-free sessions rely on manual heating with a torch. Note that induction heaters do use a battery, so a fully battery-free session means a torch.
- Check the cap click. Heat until the first click. There is one click on heat-up and one on cool-down.
- Check the packing. A load that's too dense is the most common cause of a weak hit. The standard tip on most devices holds a regular-size load in the 0.1g range.
- Check the grind. Chunky material blocks airflow. Re-grind to a fluffy, uniform texture and reload.
- Check for residue. Look at the screen and condenser. Clear any buildup before changing anything else, since a clogged screen mimics a packing problem.
- Check your draw. Short, steady puffs give a more even hit than one long, hard pull. A hard draw pulls unevenly through a load that hasn't fully heated.
- Check airflow settings. On models with a rocker, like the M 7 and M 7 XL, adjust airflow before changing your technique. If hits feel thin or harsh, airflow is often the culprit.
If you've worked through all seven steps and vapor is still weak, it may be worth checking the condition of your device. Our how to use a DynaVap step by step guide is a good refresher on the full sequence from loading to the cool-down click.
Frequently Asked Questions
How do you get consistent vapor from a battery-free vaporizer?
Consistency comes from a repeatable routine. Pack the chamber to the same level each time, heat the cap evenly with a torch or induction heater, and wait for the single click that signals the target temperature before you draw. Keep airflow clear by cleaning the screen and tip regularly. Small, steady habits matter more than any single trick, so note what changes between good and weak sessions and adjust one variable at a time.
How tightly should you pack a dry herb vaporizer?
Pack the chamber loosely enough that air can move through the material but firmly enough that it does not fall out when you flip the device. Overpacking restricts airflow and can leave the center underheated, while underpacking can burn through quickly. Start with a moderate fill, check your draw, and adjust in small steps. The standard 0.1g range is a useful starting point for most DynaVap tips.
Why is my DynaVap producing less vapor than usual?
The most common causes are a clogged screen, residue built up in the tip or condenser, overpacking, or uneven heating. Check that the airflow path is clear, confirm the cap clicked during heat up, and make sure you are not pulling too slowly or too quickly. If a single change does not help, go through a simple checklist from packing to cleaning before assuming the device needs service.
Can an induction heater be used with a battery-free vaporizer?
Yes. A DynaVap can be heated with a butane torch or an induction heater. Keep in mind that induction heaters do use a battery, even though the vaporizer itself is battery-free. Torches are the simpler, fully portable option, while induction heating can be a convenient choice when you prefer a more hands-off heat source.